
We meet on the second Wednesday of every month at The Den, Cunningham Road, Westhoughton, BL5 2AN. 7:30pm until 10:00 pm.

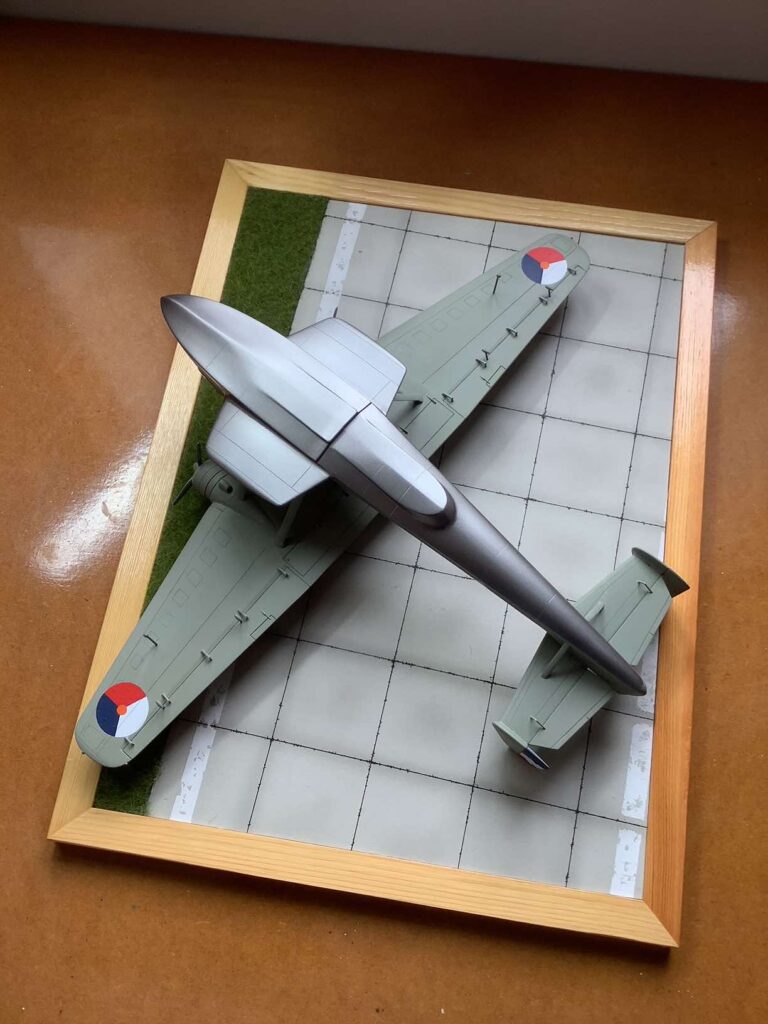


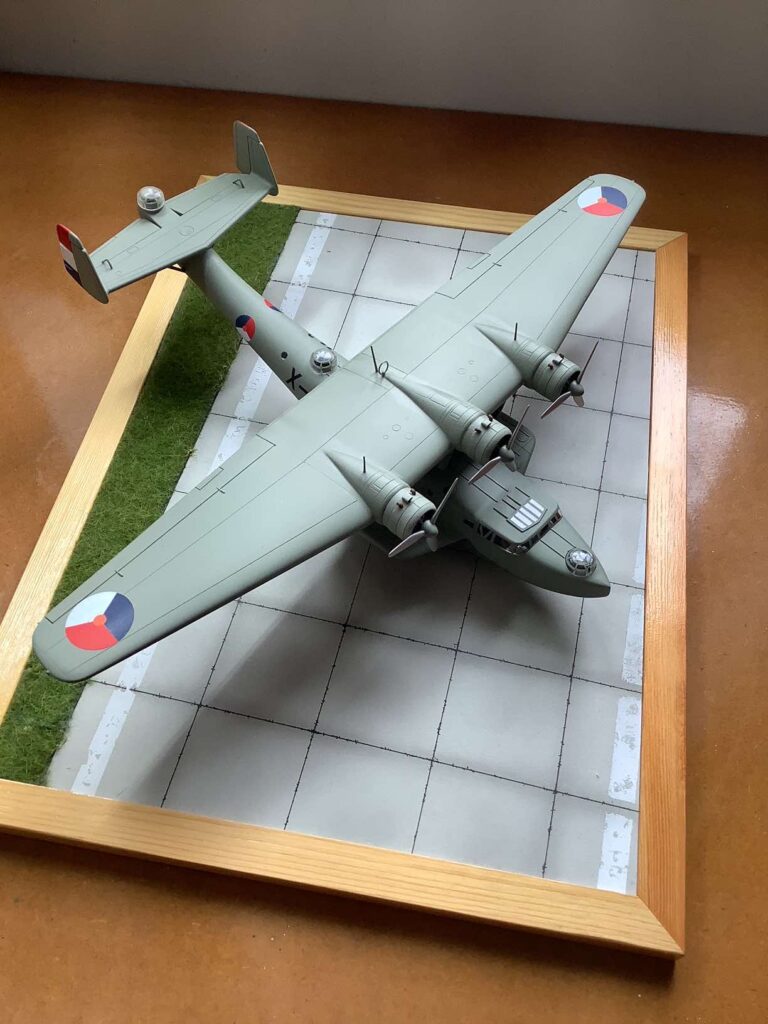
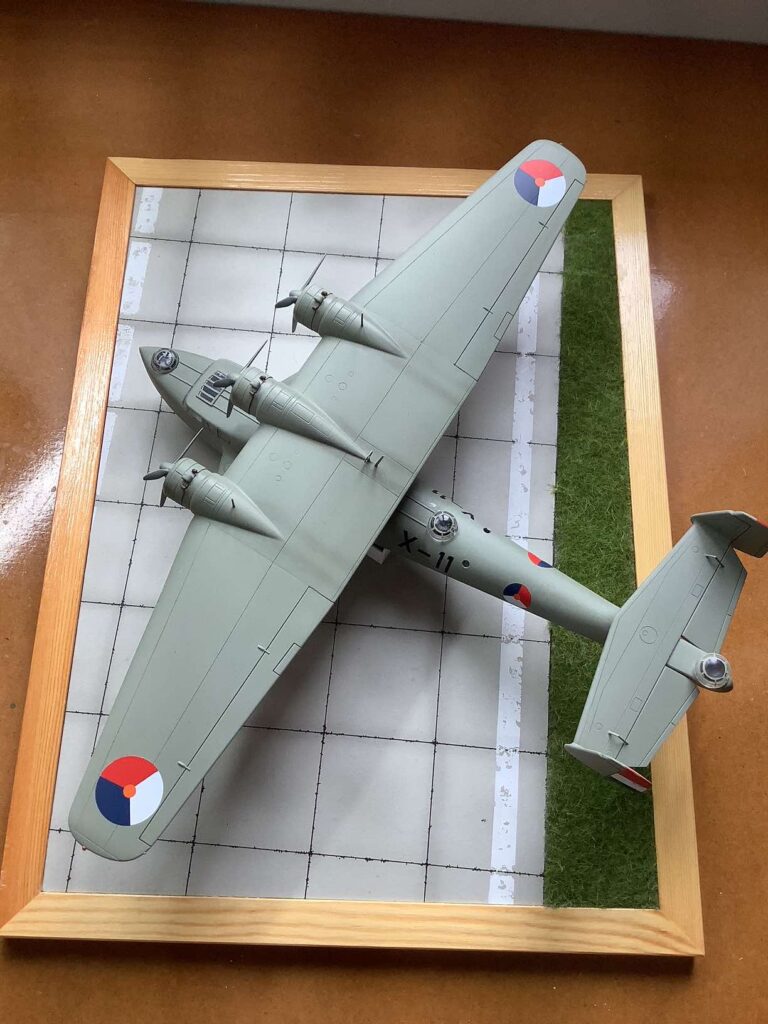
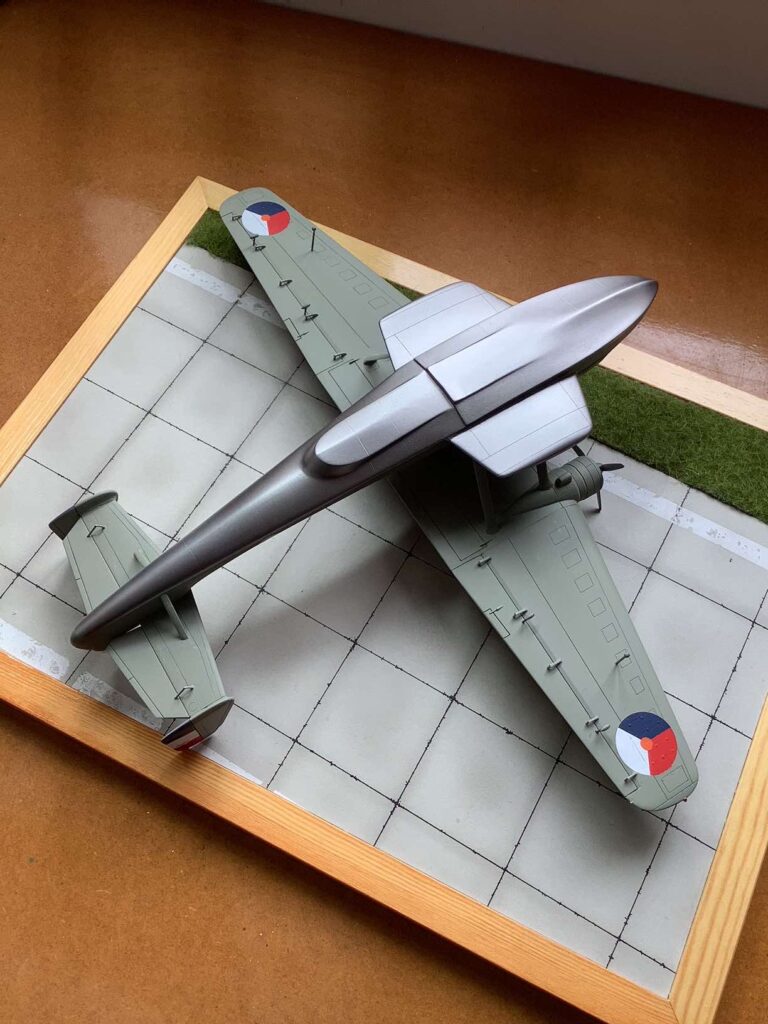

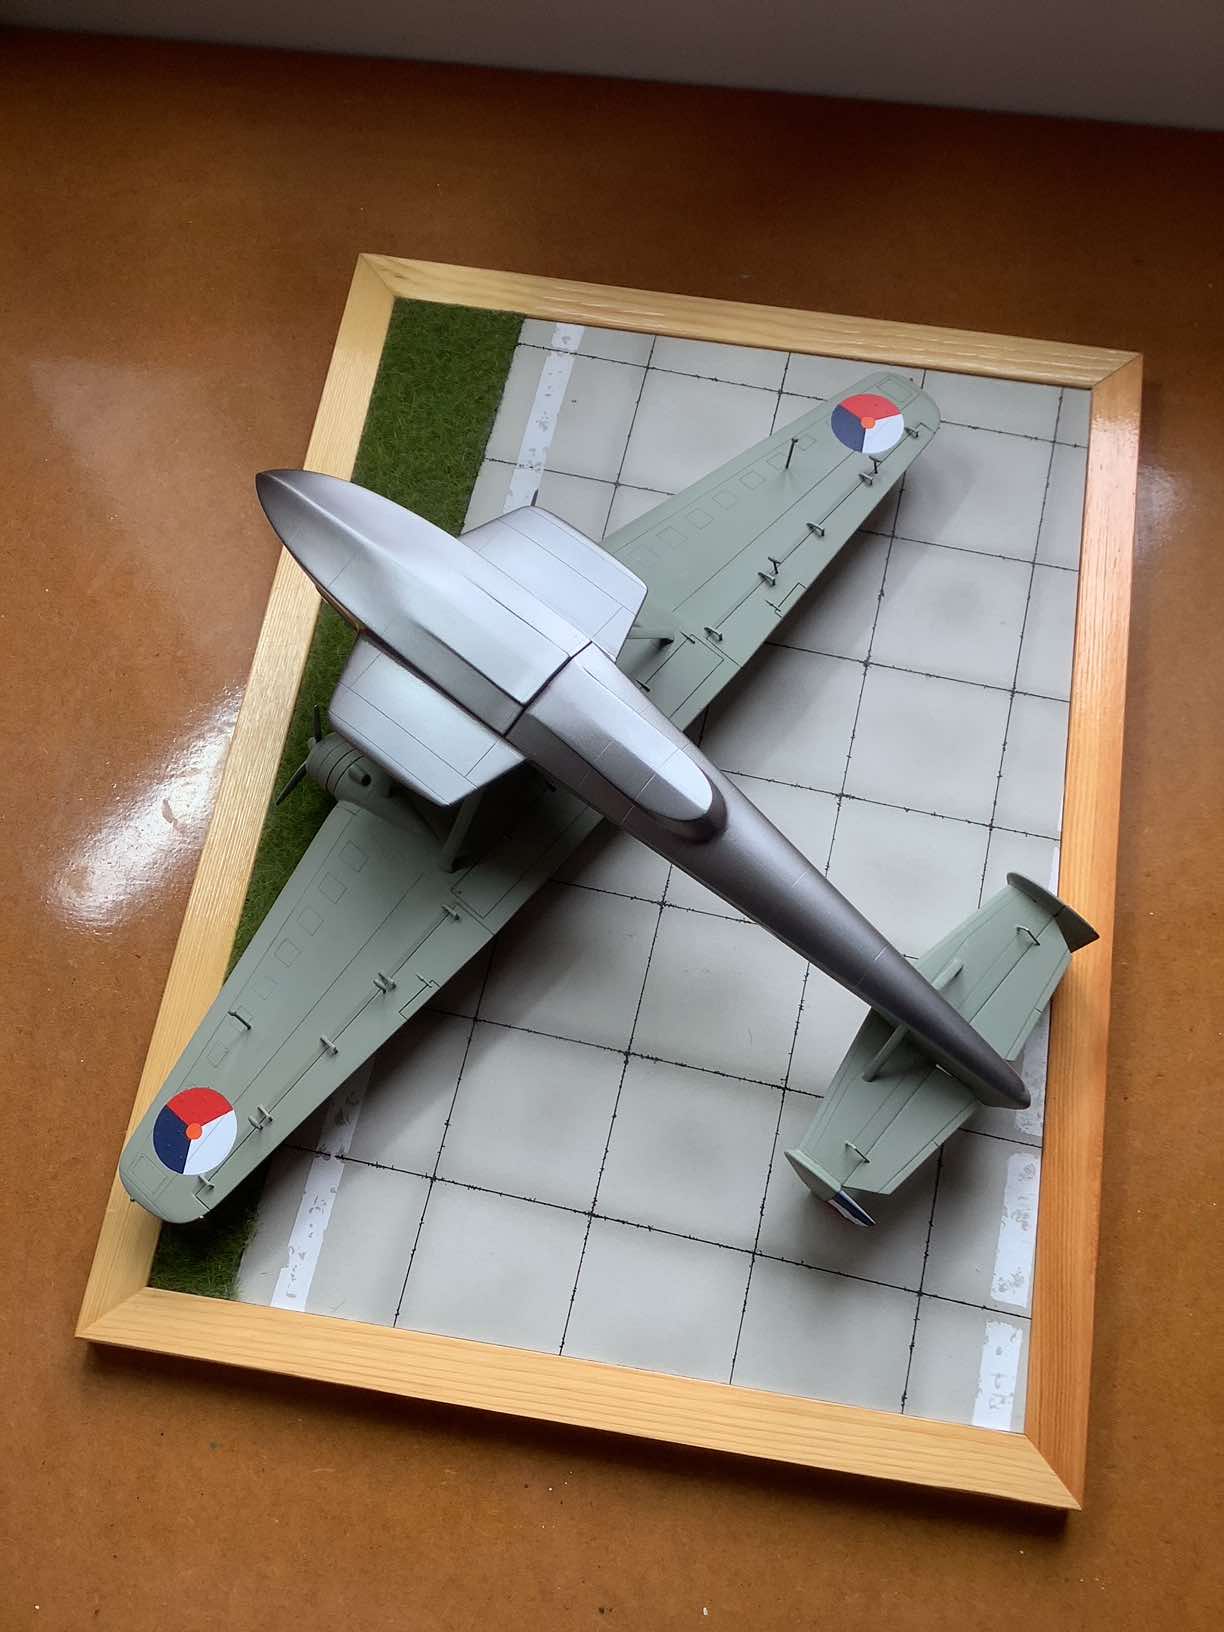


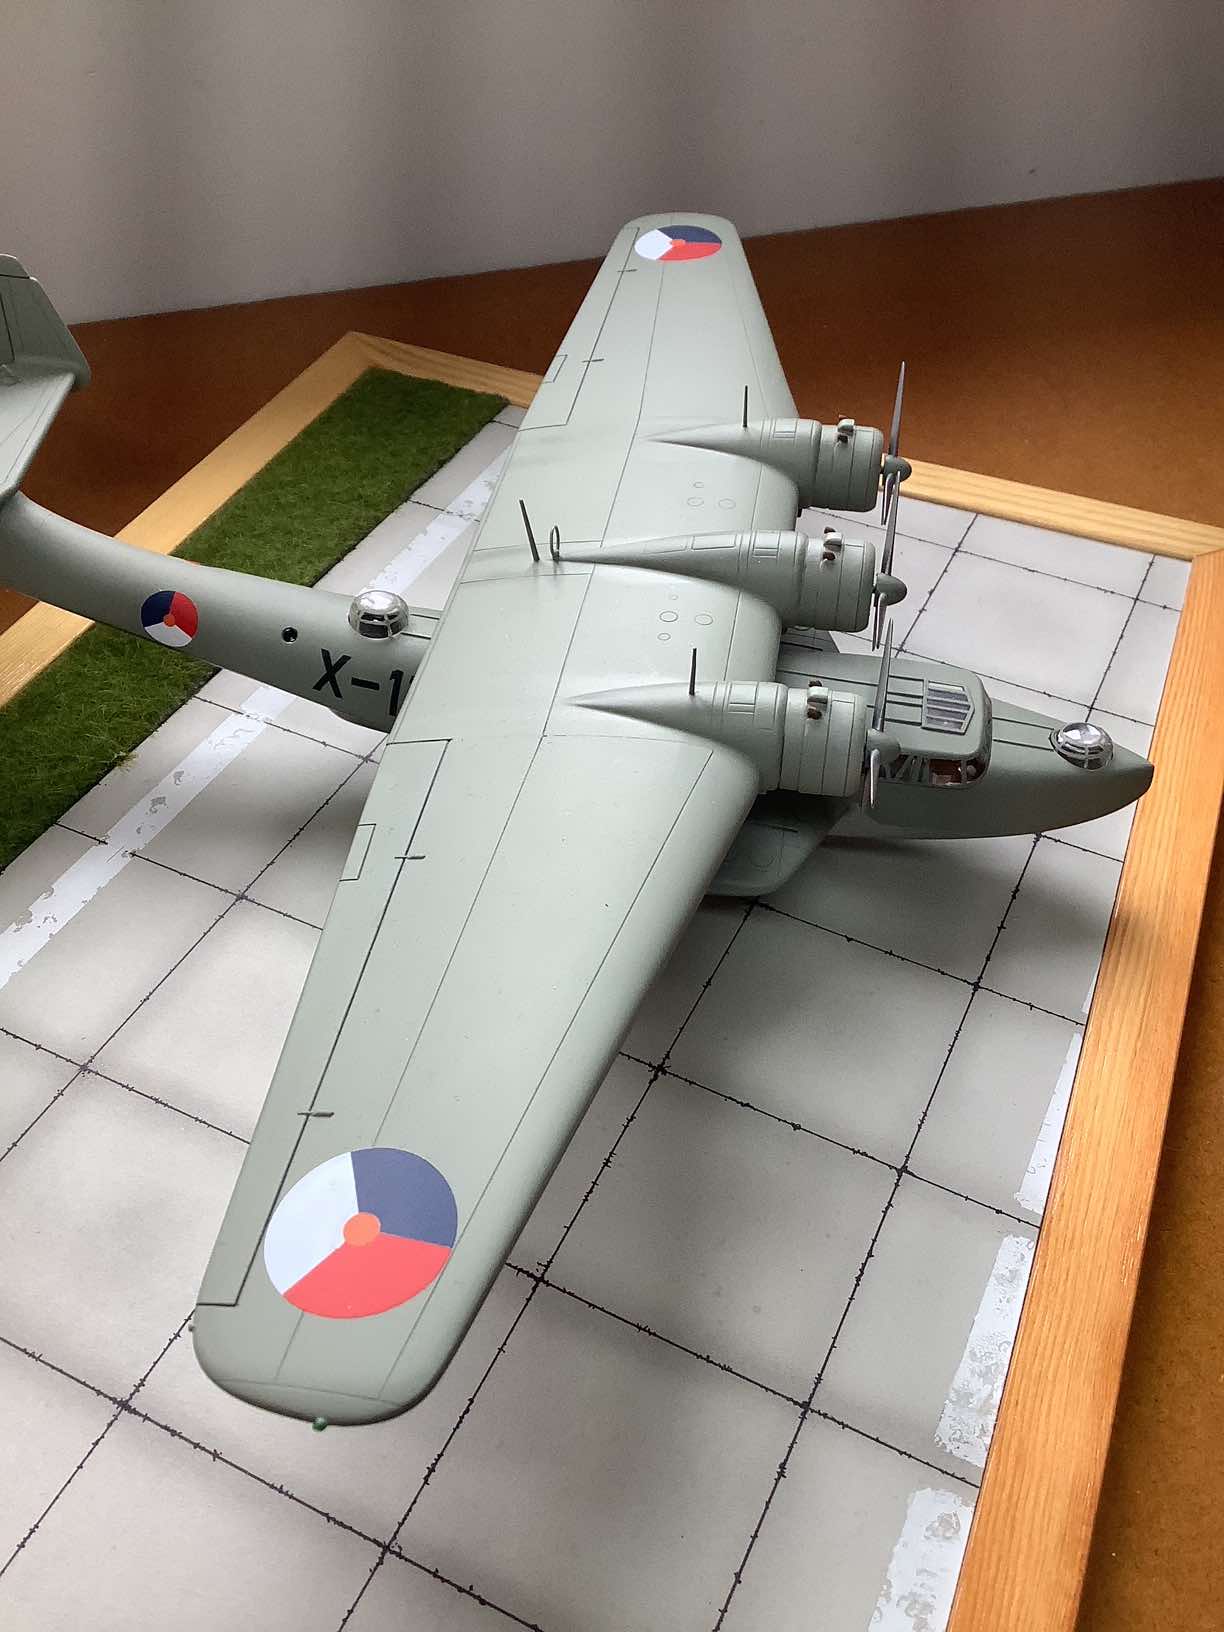
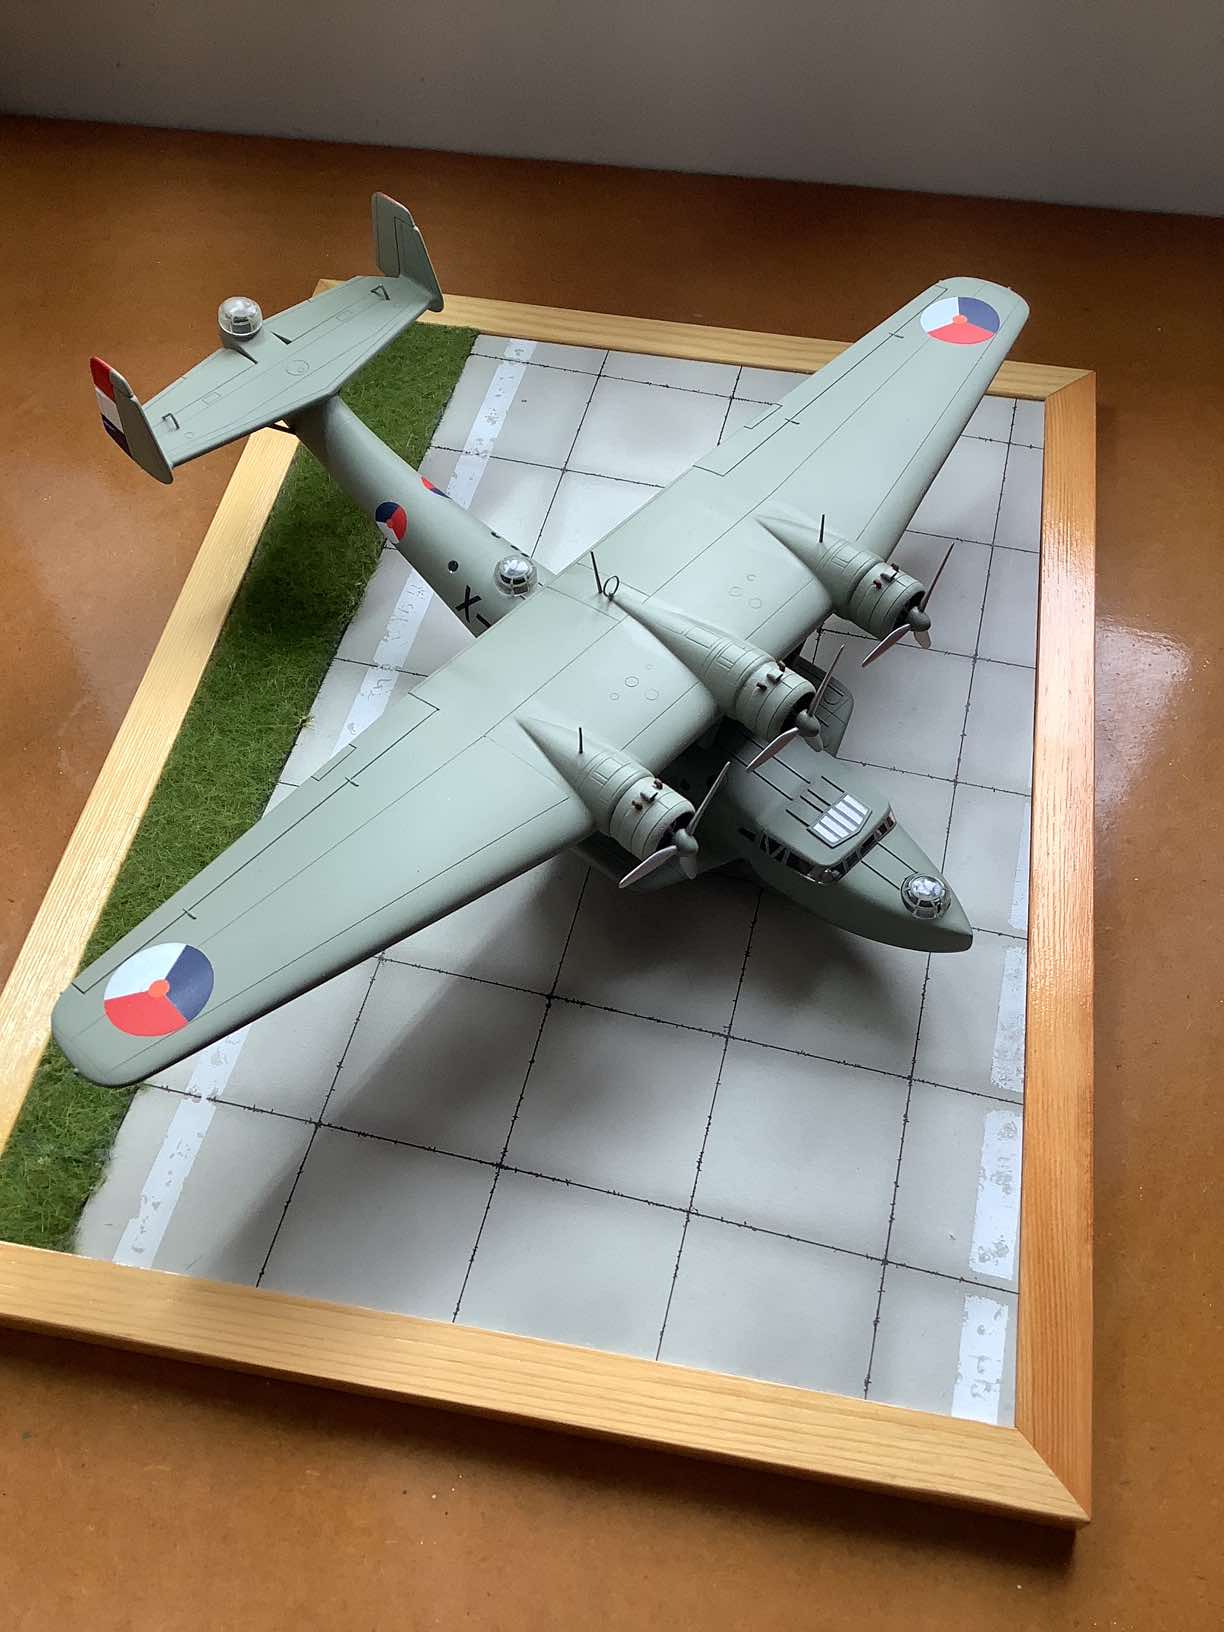
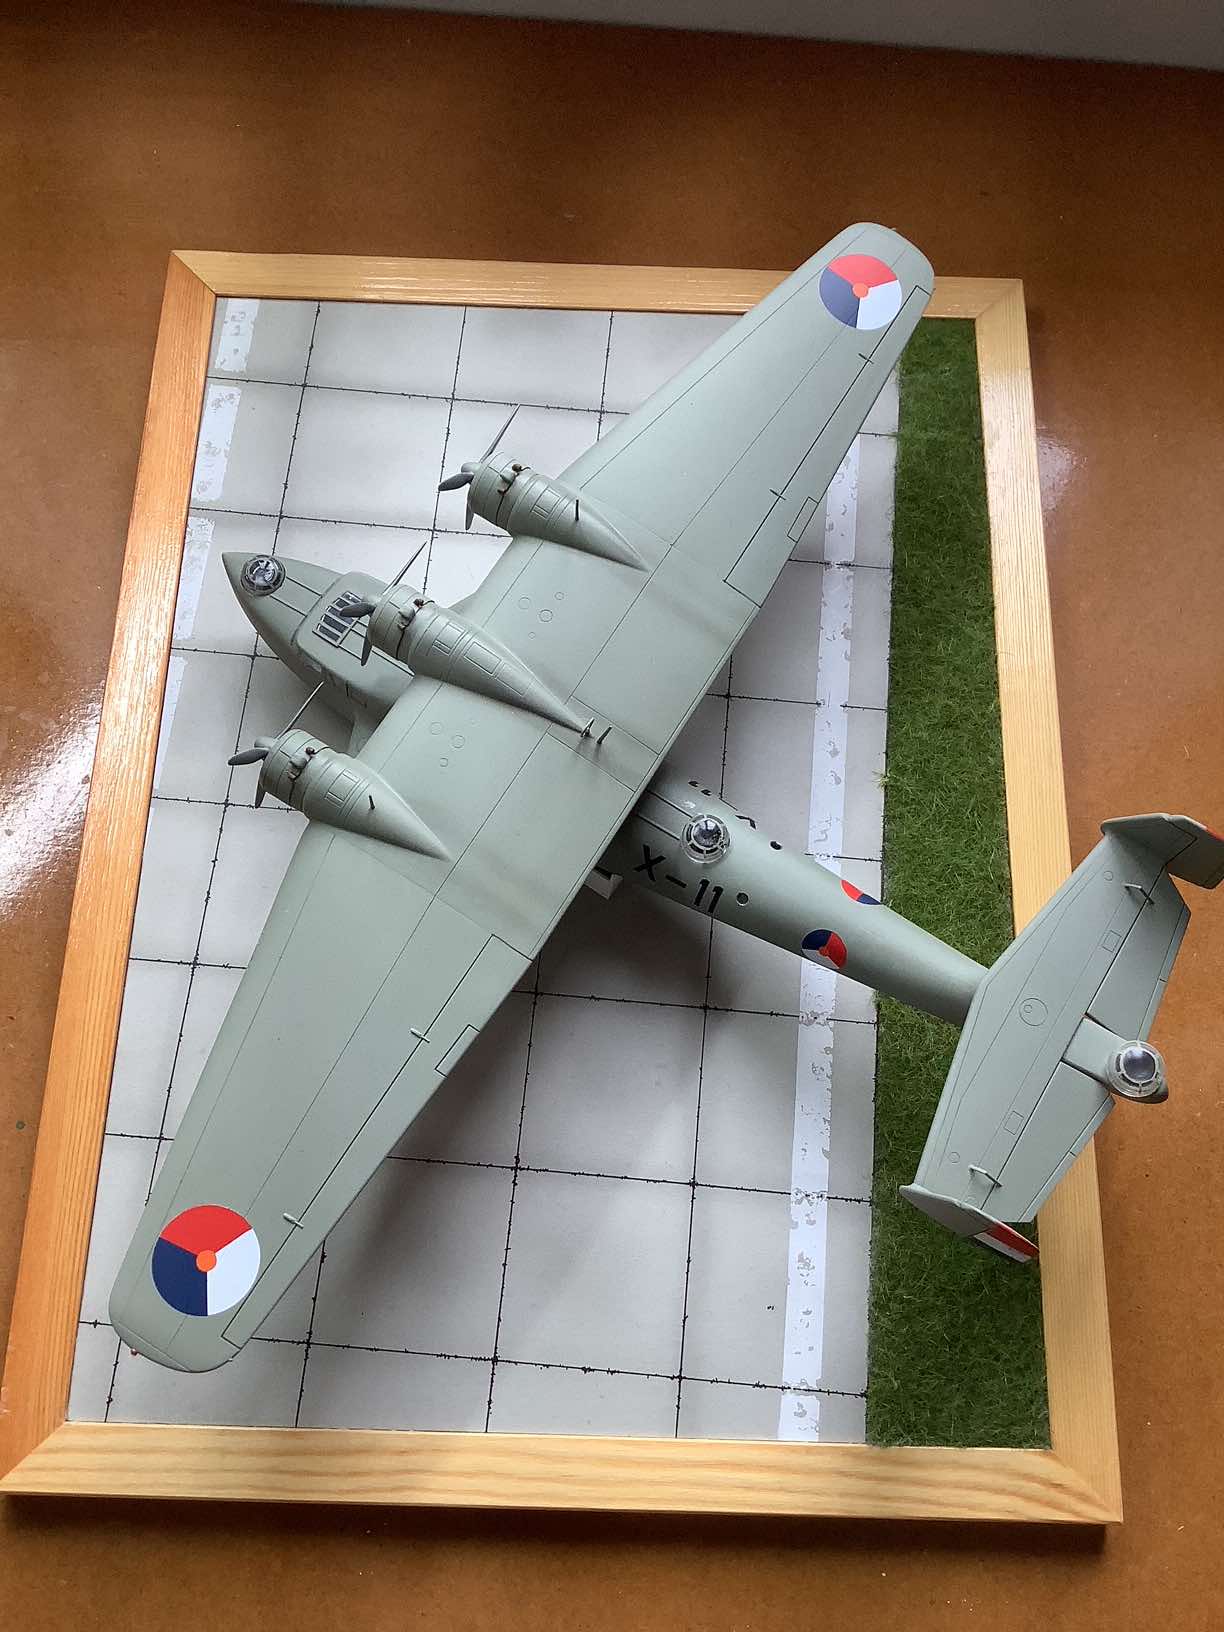

In 1935 the German Ministry of Aviation (RLM) issued a specification for a 3-engined flying boat to replace the Dornier Do.18. The Dornier company offered the Do.24 but the winner of the competition was the Blohm & Voss BV.138. However, all was not lost for Dornier because, at the same time, the Royal Netherlands Navy was also looking for a new flying boat to serve in the Netherlands East Indies and the felt the Do.24 met their needs. The Dutch wanted to buy 90 but only received 37 before Germany occupied the country in May 1940. Production continued for the German air force, a total of 279 being built.
The kit dated to 1978 and was passed onto me by a friend. The kit is of the later, German operated, Do.24T and numerous improvements/changes had to be made to back-date the model to the earlier Do.24K. These included:
The Cockpit – The pilot/co-pilot’s and navigator/radio operator’s areas were scratchbuilt, using the seats, control columns and middle bulkhead from the kit.
Fuselage – Multiple sink holes in the fuselage and struts had to be filled, along with the outlines of the hatches in the SAR version. The dorsal turret was discarded and the hole reduced in size, to fit the replacement turret.
New windows were drilled aft of the dorsal turret.
That done, the fuselage halves were glued together and the sponsons added.
After cleaning up, reinforcing strips of 15 x 20 thou plastic strip were added to the fuselage and sponsons. A new, circular hatch was added aft of the cockpit and extra filler caps were glued to the sponsons.
Fitting the tail and replacing the tail turret was left until after fitting the wing.
The wing – I removed the teardrop shaped fitting and filled the resulting hole. The fairing for the central engine was lengthened. Finally, the landing lights were replaced.
The engines – The kit’s engines and cowlings were replaced with those from the Blackbird Models conversion kit. An option would be to replace them with those from an early B-17 but it would increase the cost considerably. Air intakes had to be added to the Blackbird cowlings.
The canopy – The fit isn’t good, but the bigger problem is the roof, and I didn’t get it absolutely right. The raised part of the roof needs to be carefully cut away cut down to two smaller hatches. A new roof was then made and the smaller hatches glued in place.
Final assembly – it was the usual faffing about attaching the wing and its struts. Then the rear fuselage could be trimmed to fit the tail. Finally, the end of the fuselage and its, too small, turret were sawn off and replaced with the Blackbird item. The seam was hidden by the tail. A new DF loop was added to the upper wing.
Painting and finishing – I masked the canopy and front turret before priming, and final clean-up. The underside of the fuselage was sprayed with Mr Color ‘Super iron’; this was then masked and the whole model sprayed with a mixture of Mr Color H70 RLM 02, lightened with white. This was then glossed with Tamiya X-22 Clear.
Decals – Using a compass cutter, I cut discs of white decal film and stuck them in place. Additional discs of red and dark blue were cut from decal film and divided into thirds. These were applied on the white discs and finished with orange centres punched from orange decal film. The serial was cut from, you guessed it, black decal film. The rudder stripes were painted.
The last touches were a matt varnish coat over the decals and exhaust stains from Tamiya ‘Smoke’.
This was a lengthy and fiddly build but I’m very pleased with the result. I spent a lot of time online looking at photos of the original aircraft, fathoming out the changes I had to make. The most difficult part was fitting the tail and tail turret, getting that right needed care.