
We meet on the second Wednesday of every month at The Den, Cunningham Road, Westhoughton, BL5 2AN. 7:30pm until 10:00 pm.
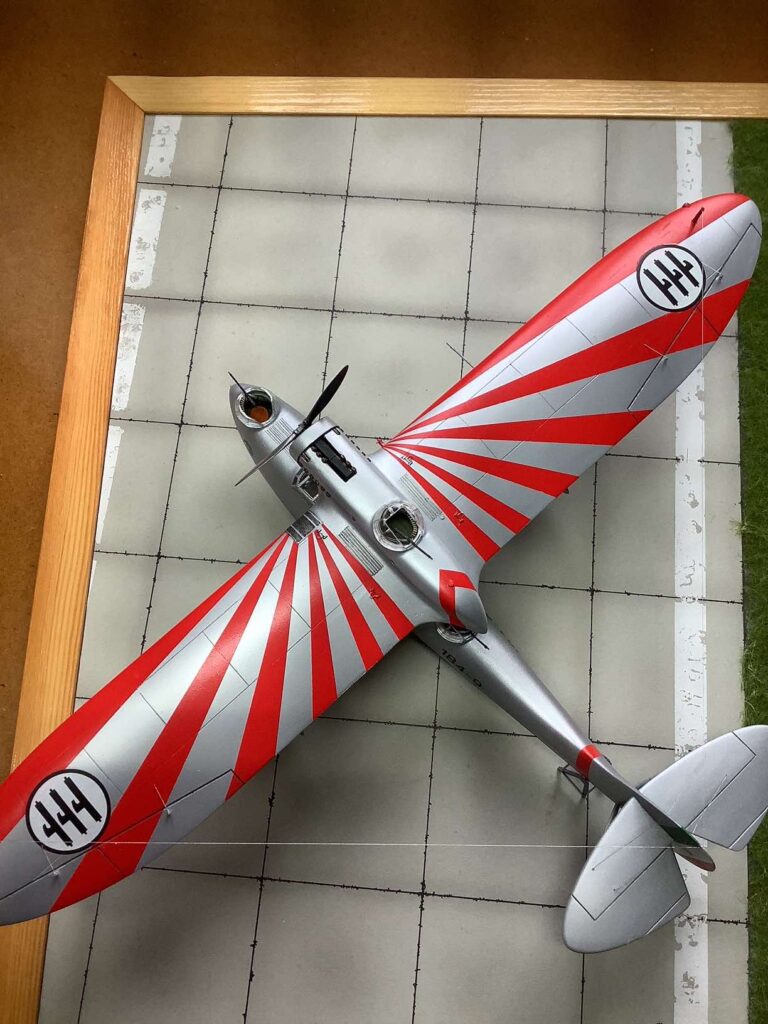
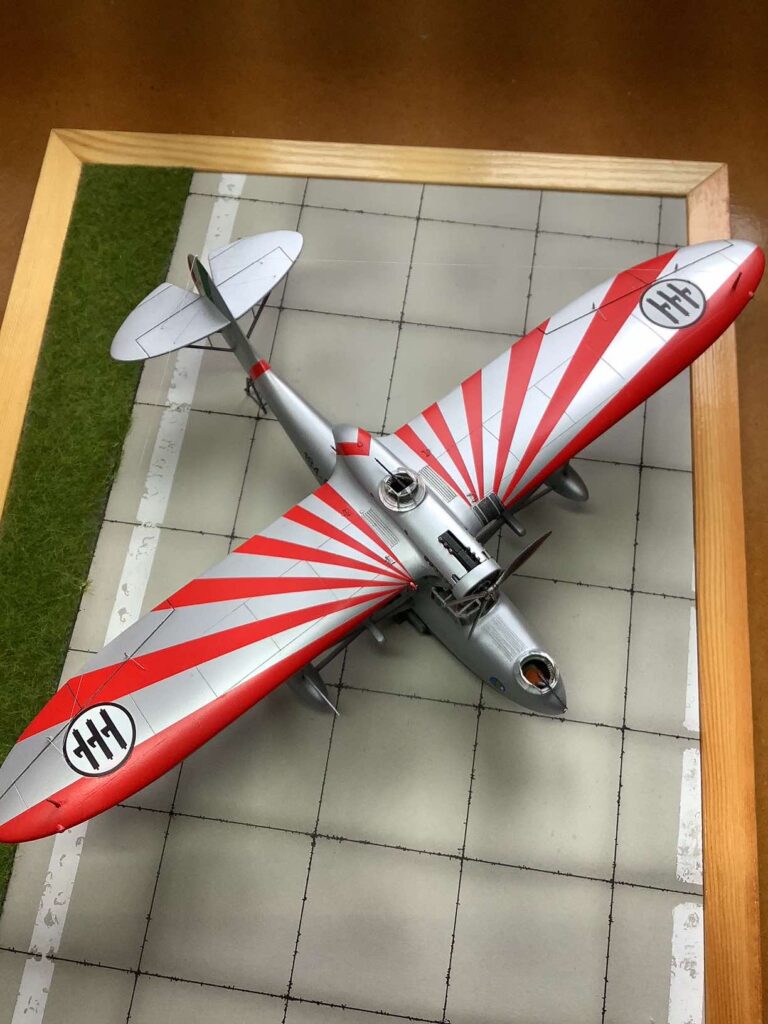
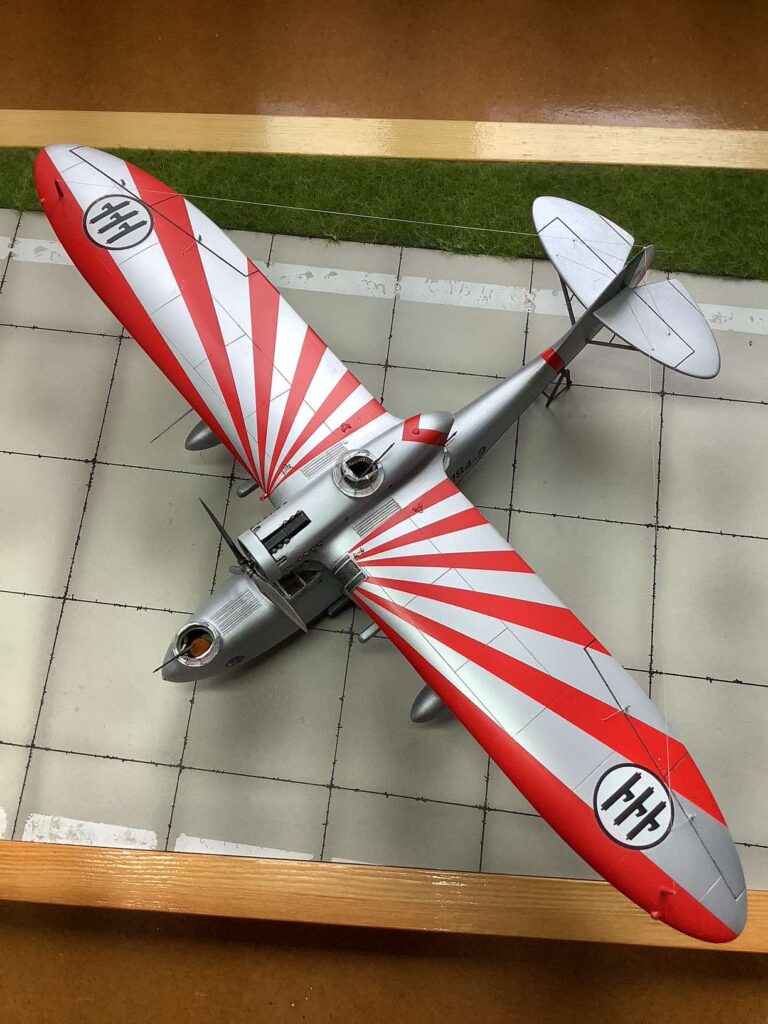
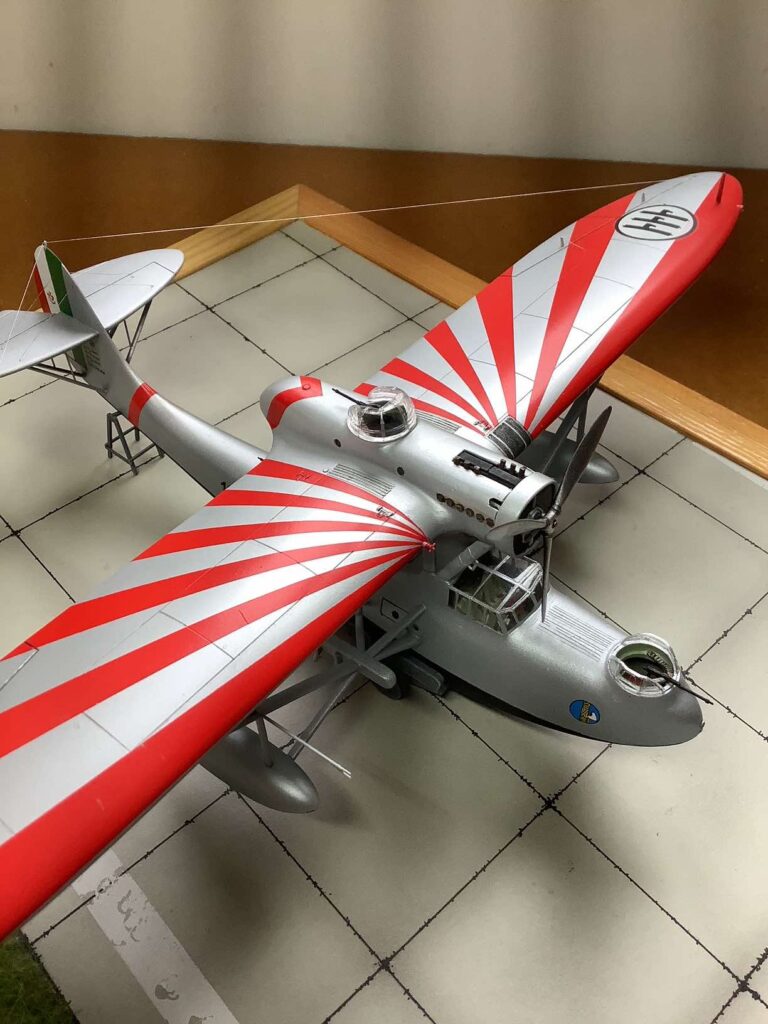
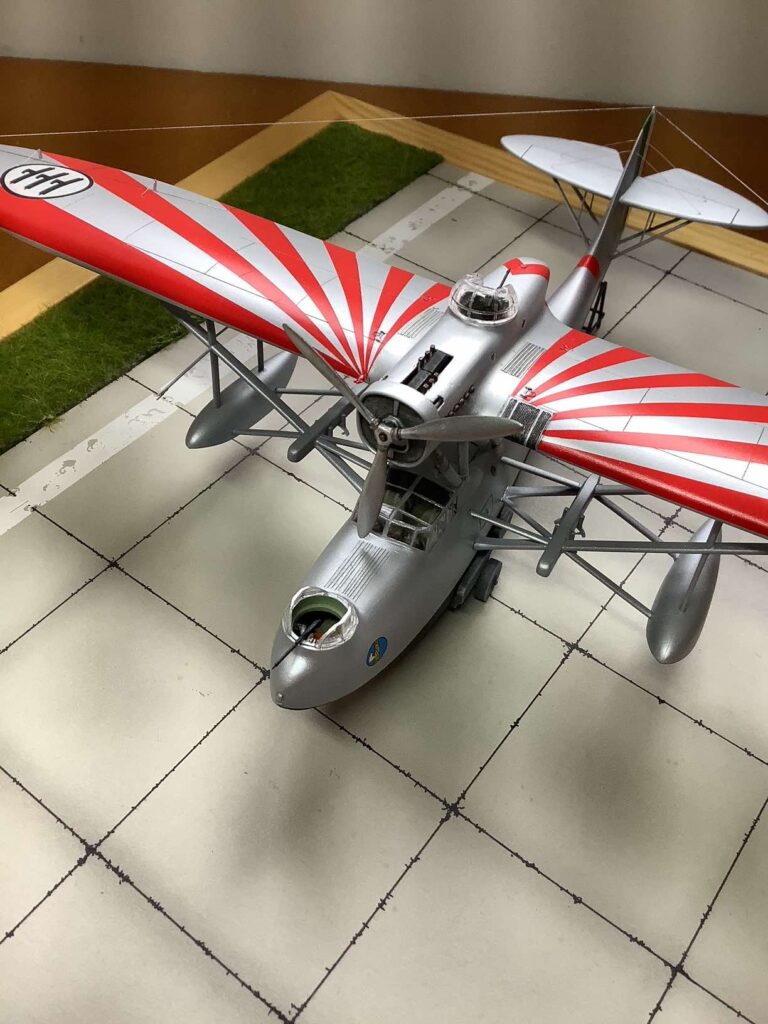
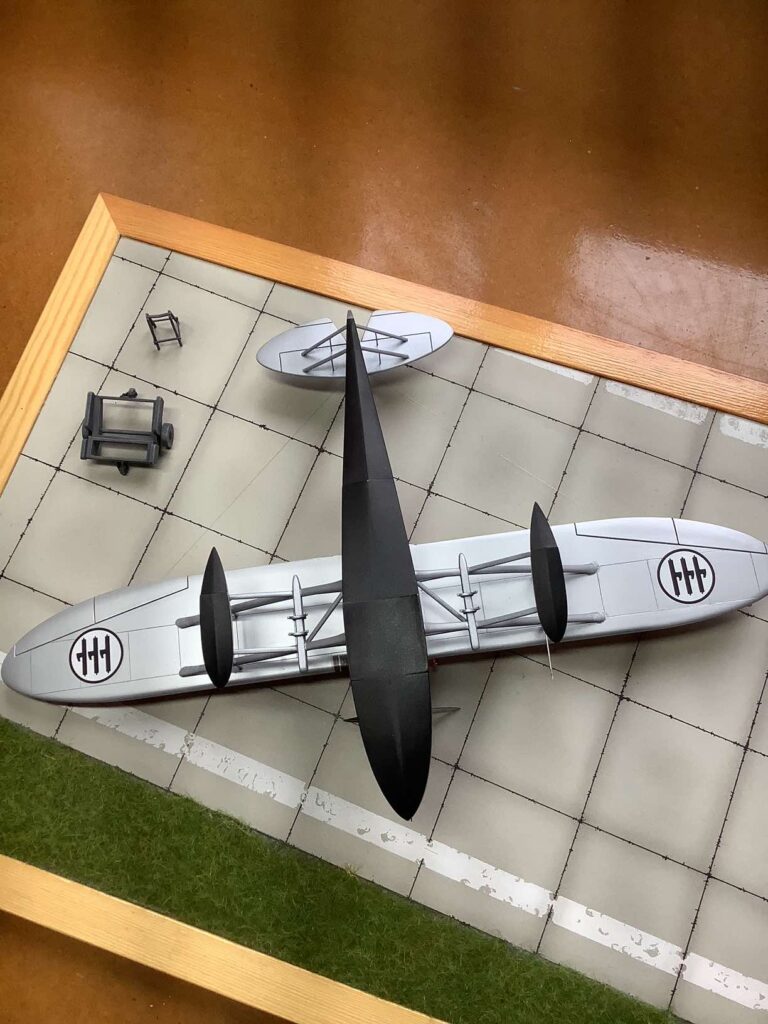
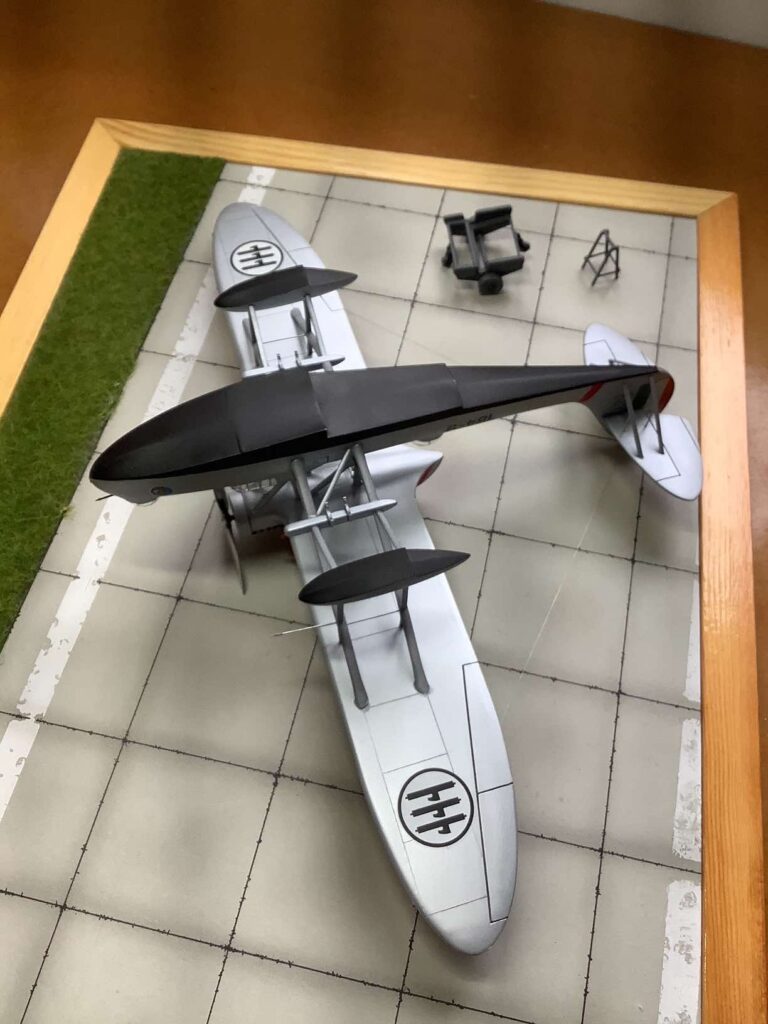
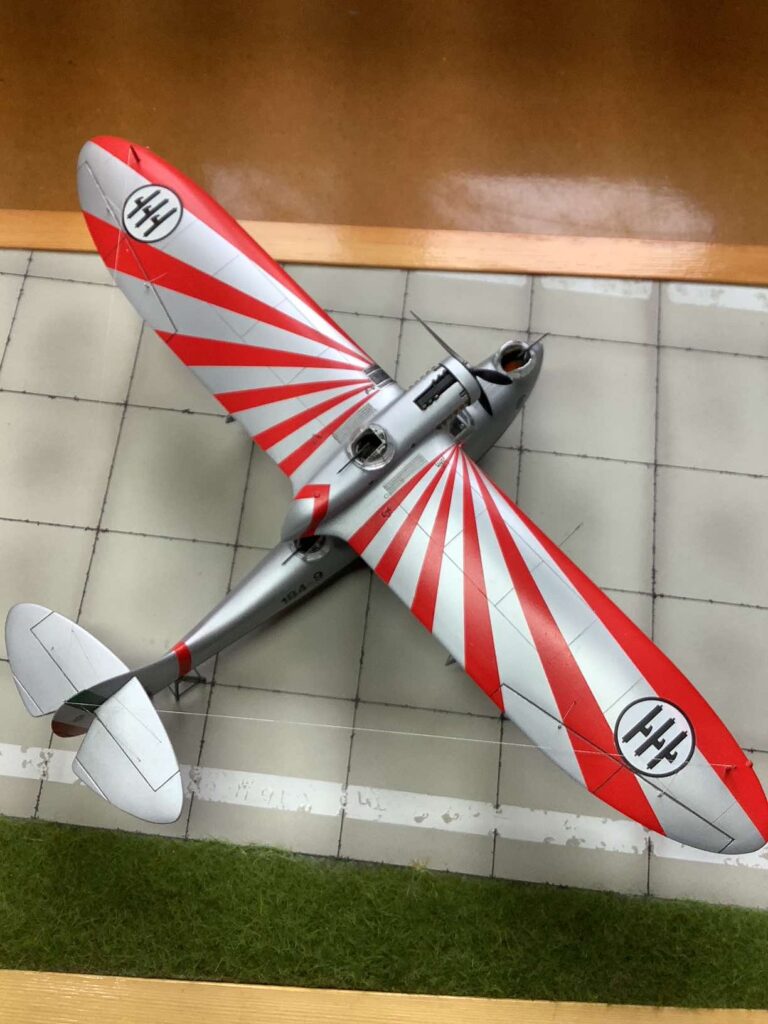
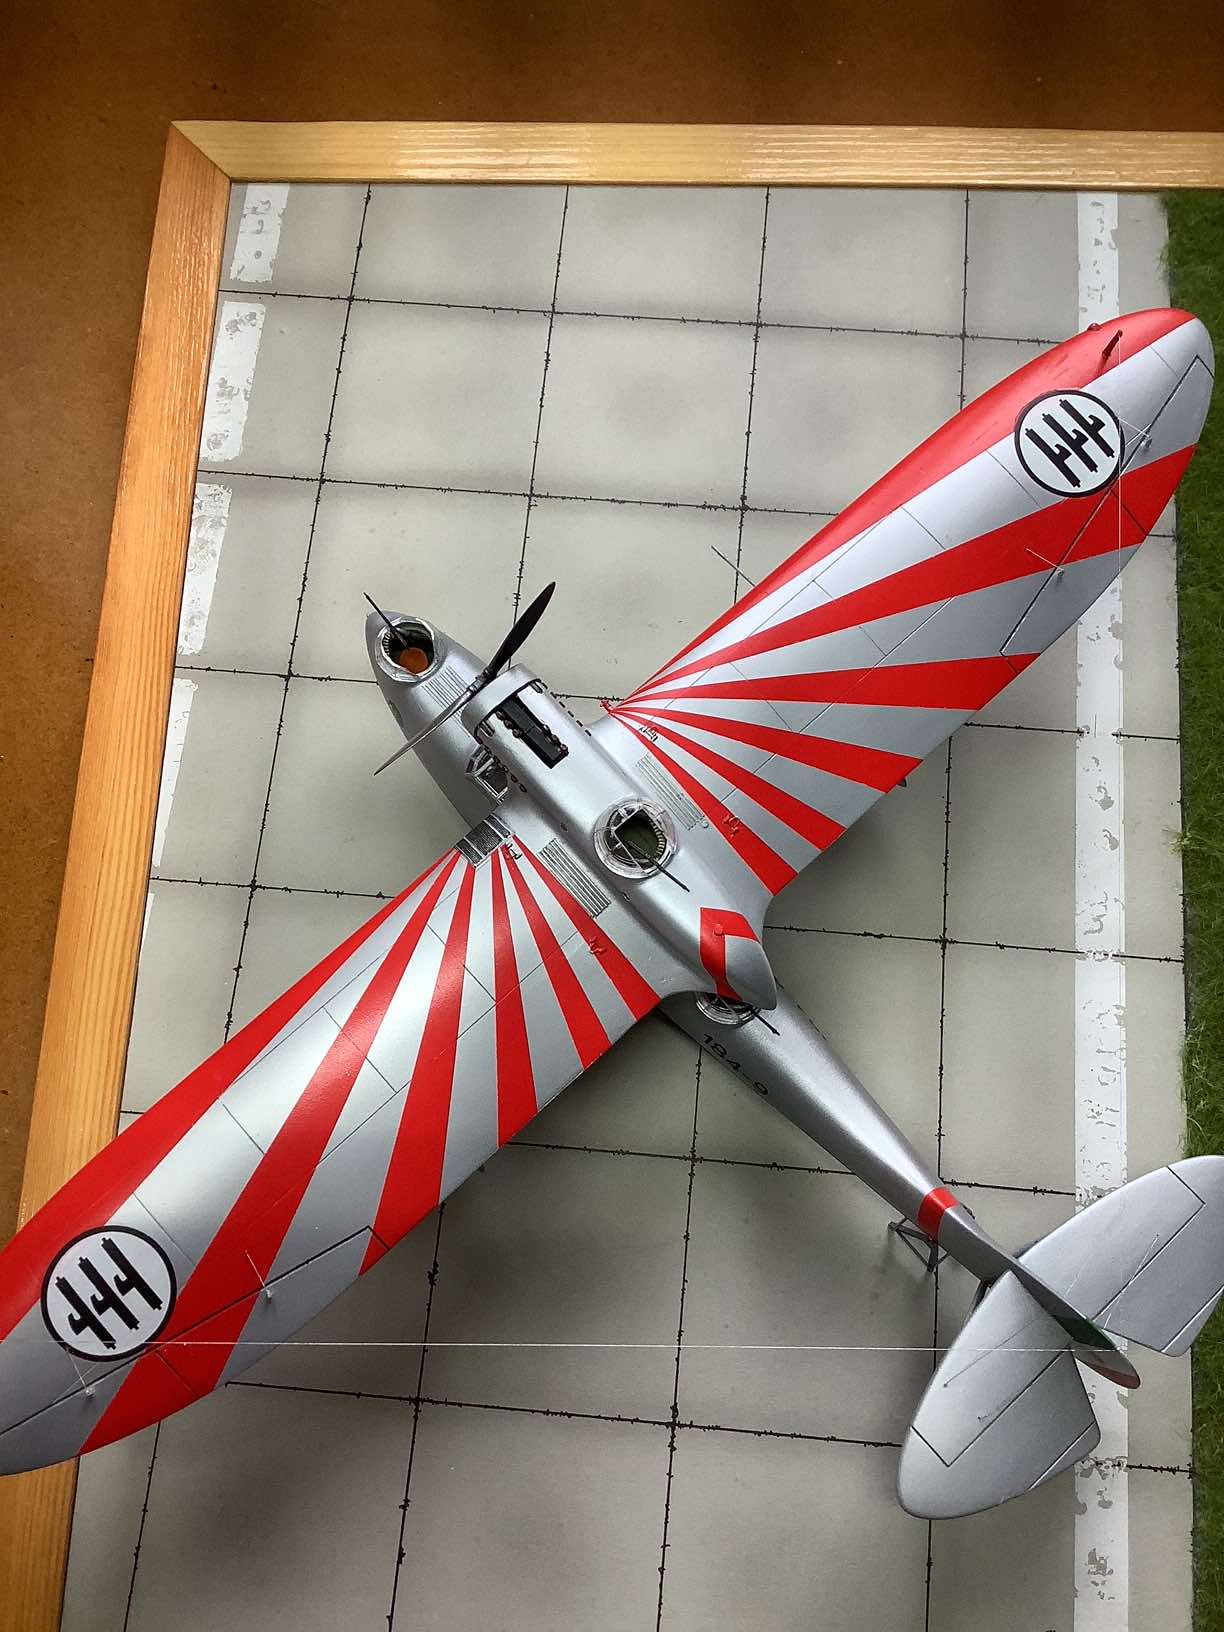
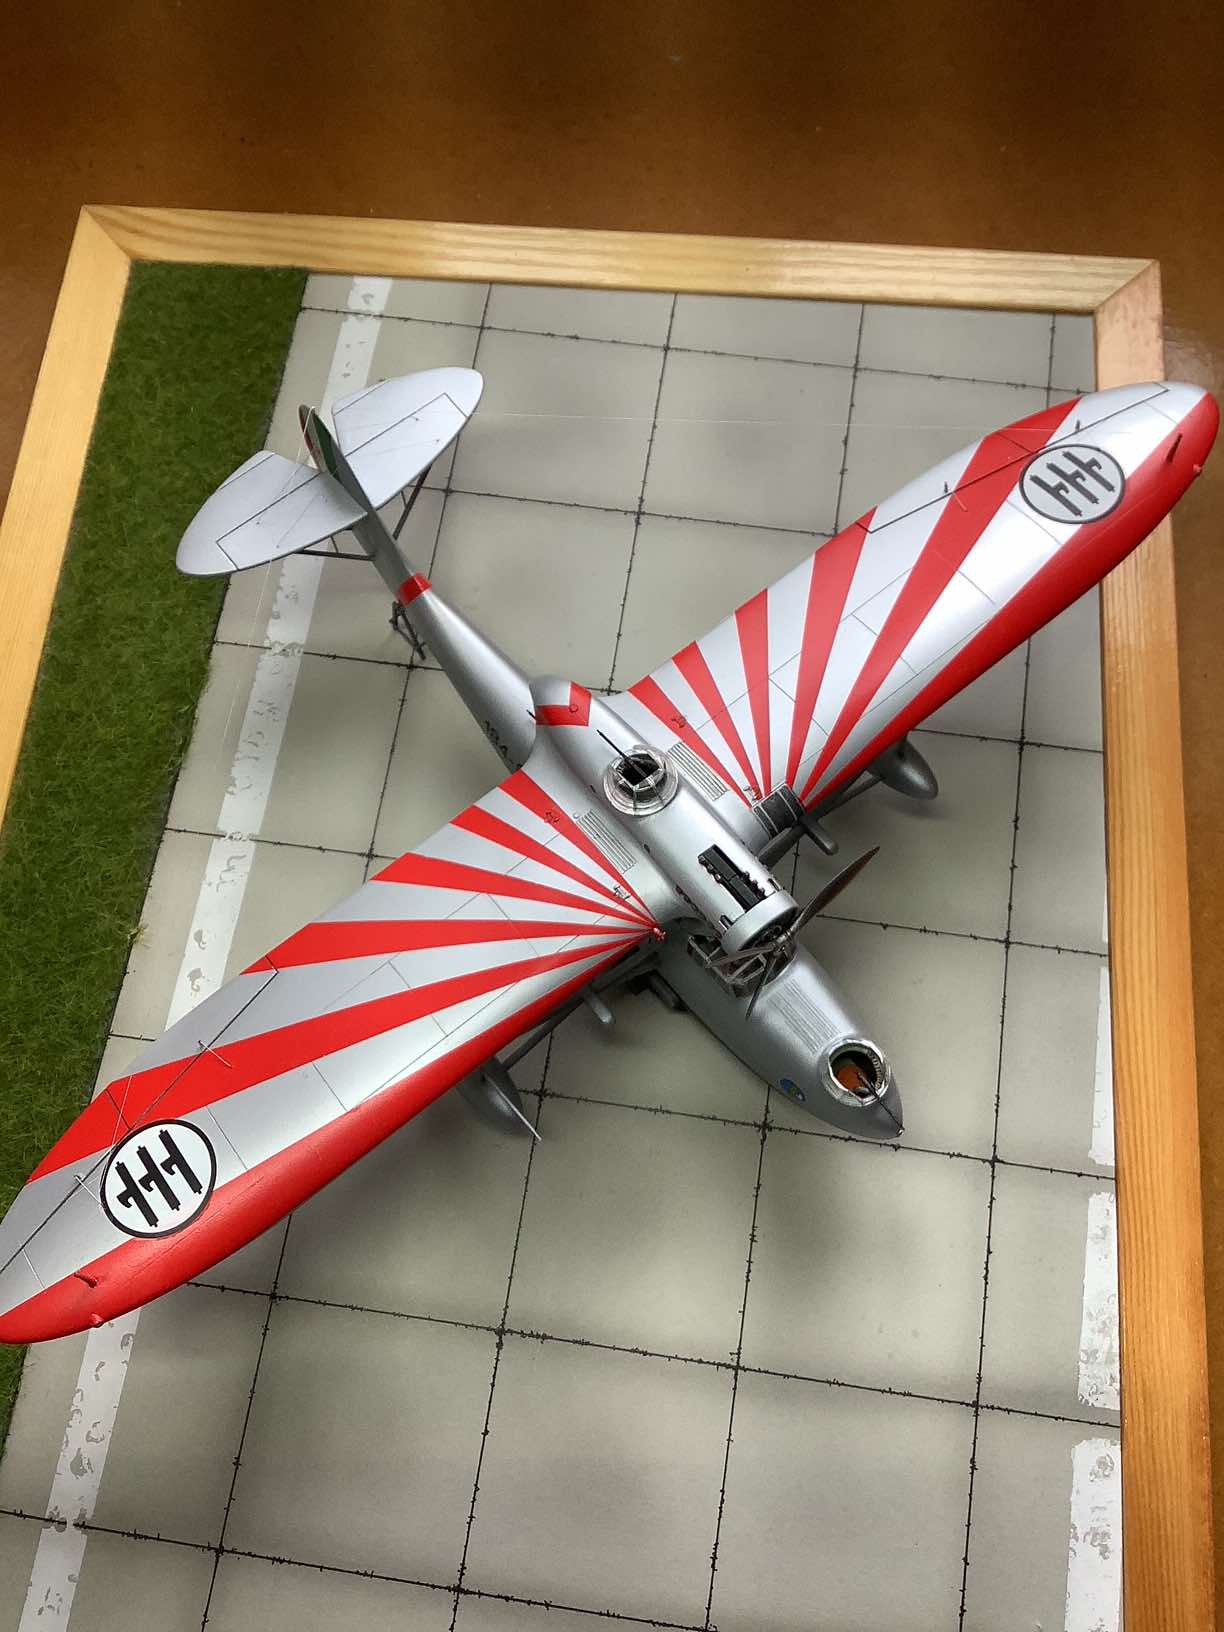

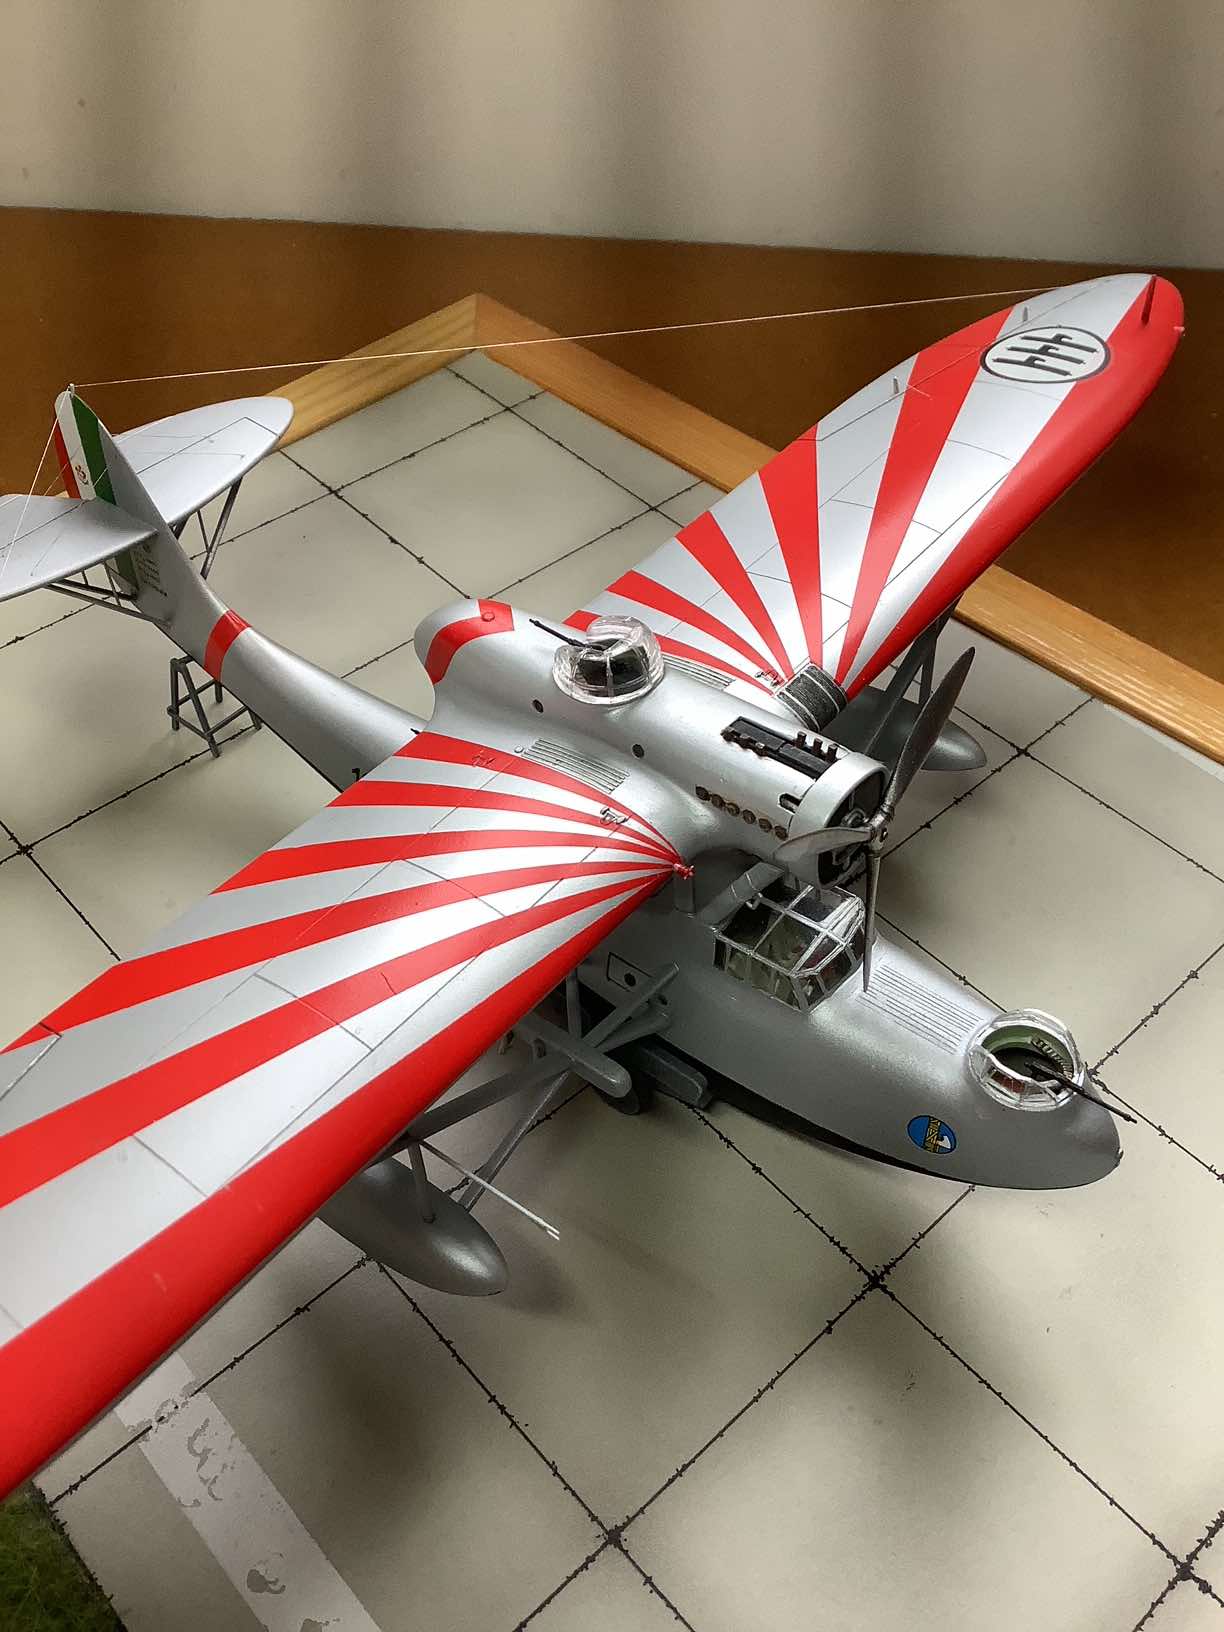
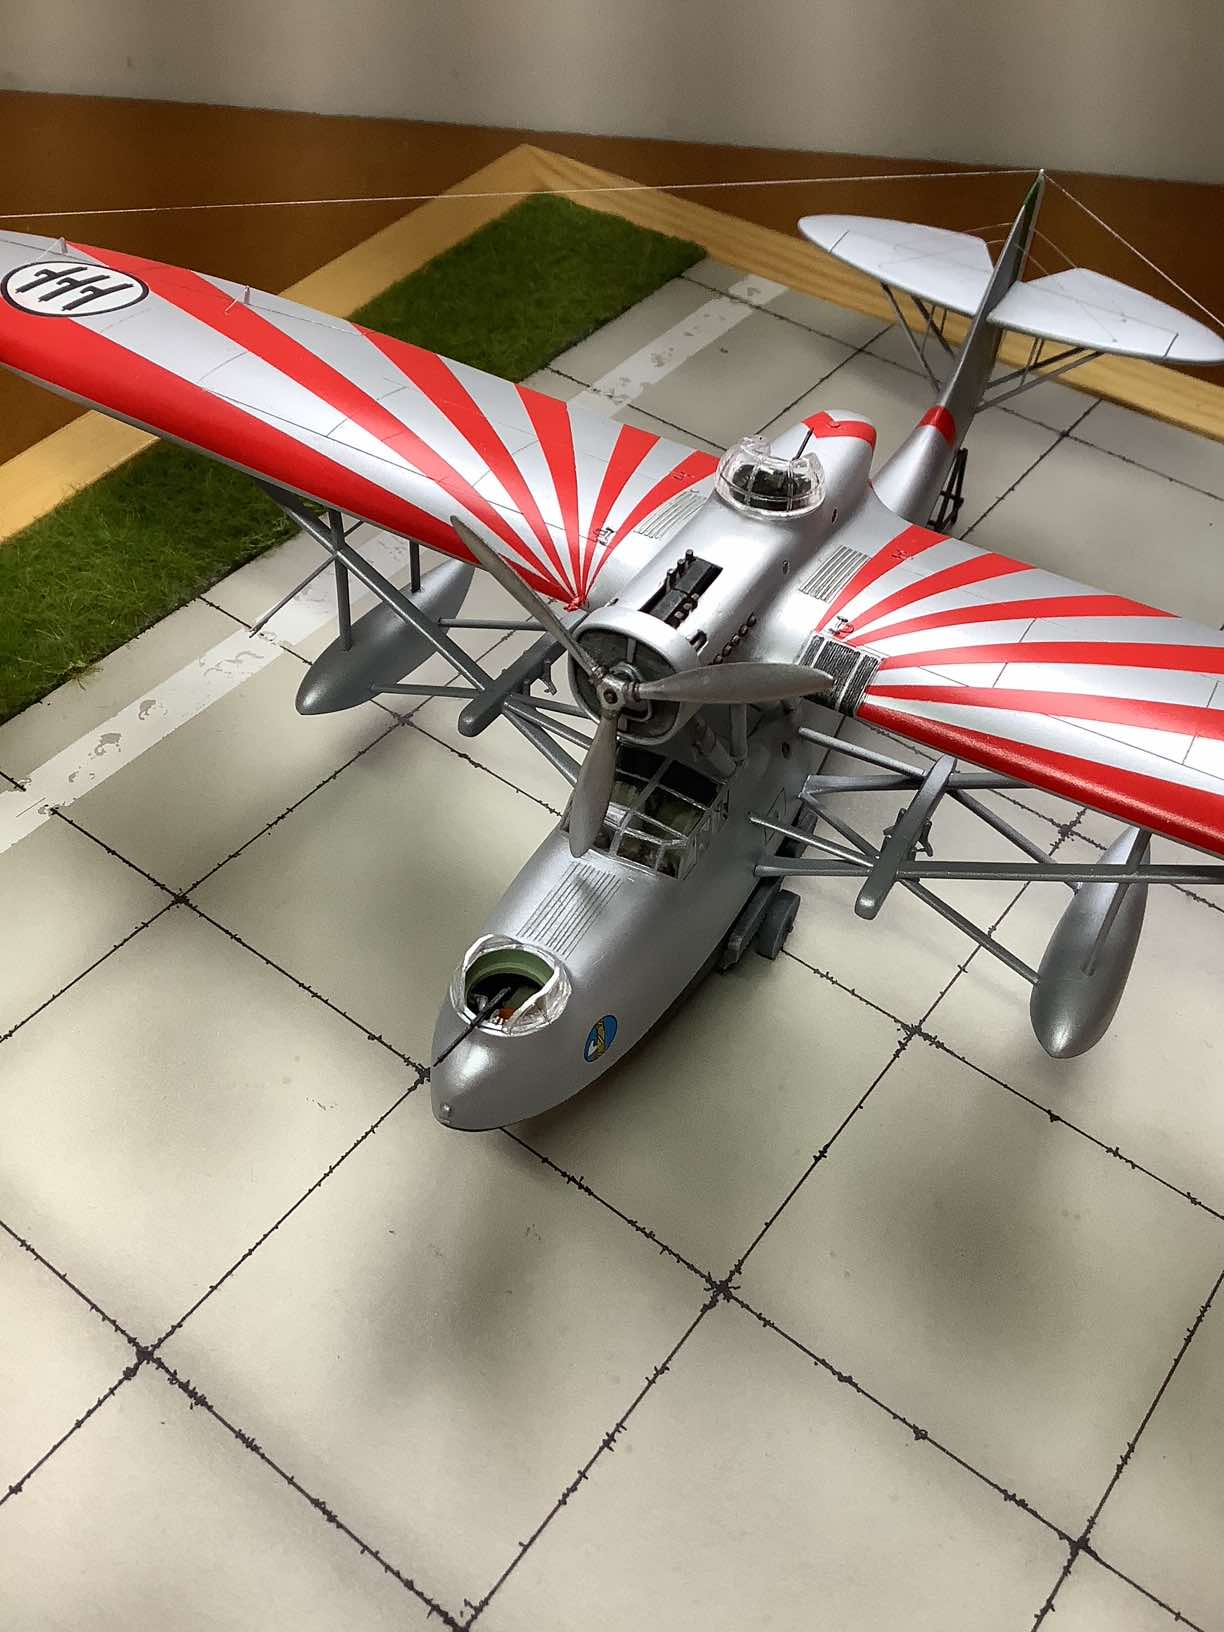
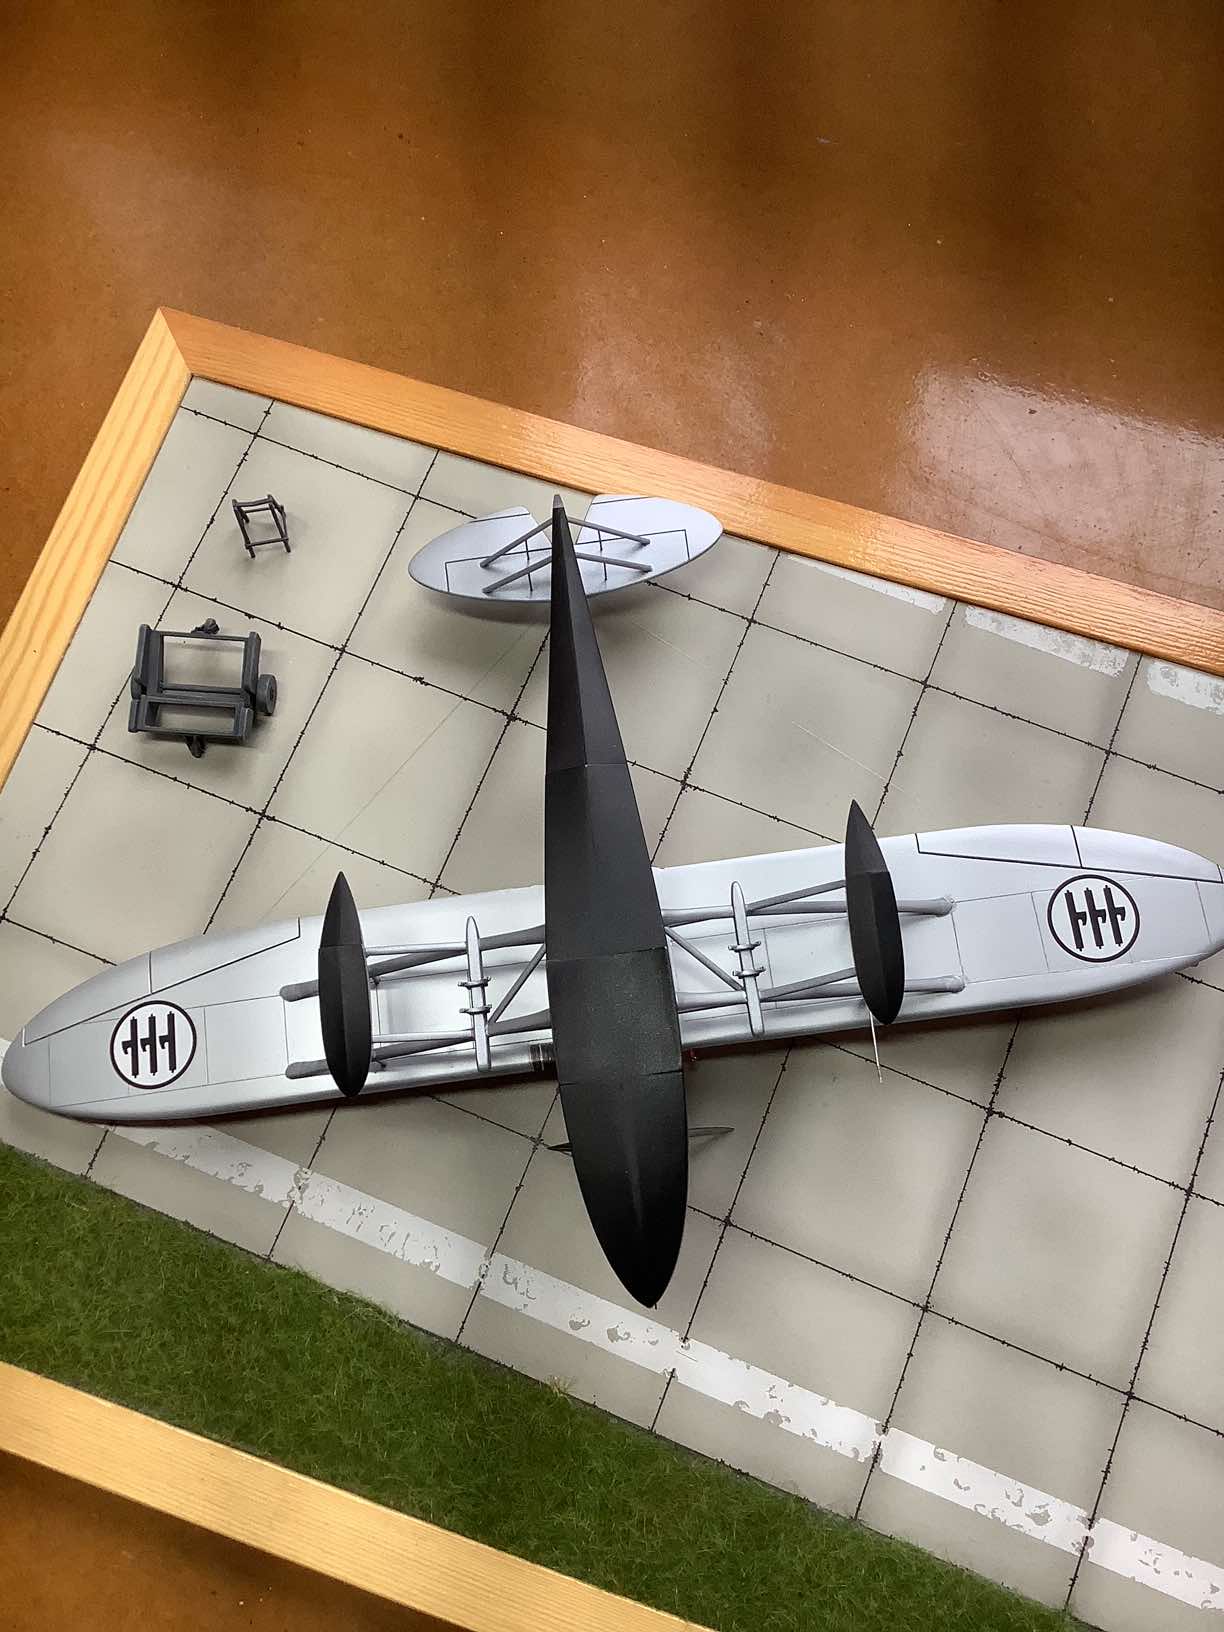
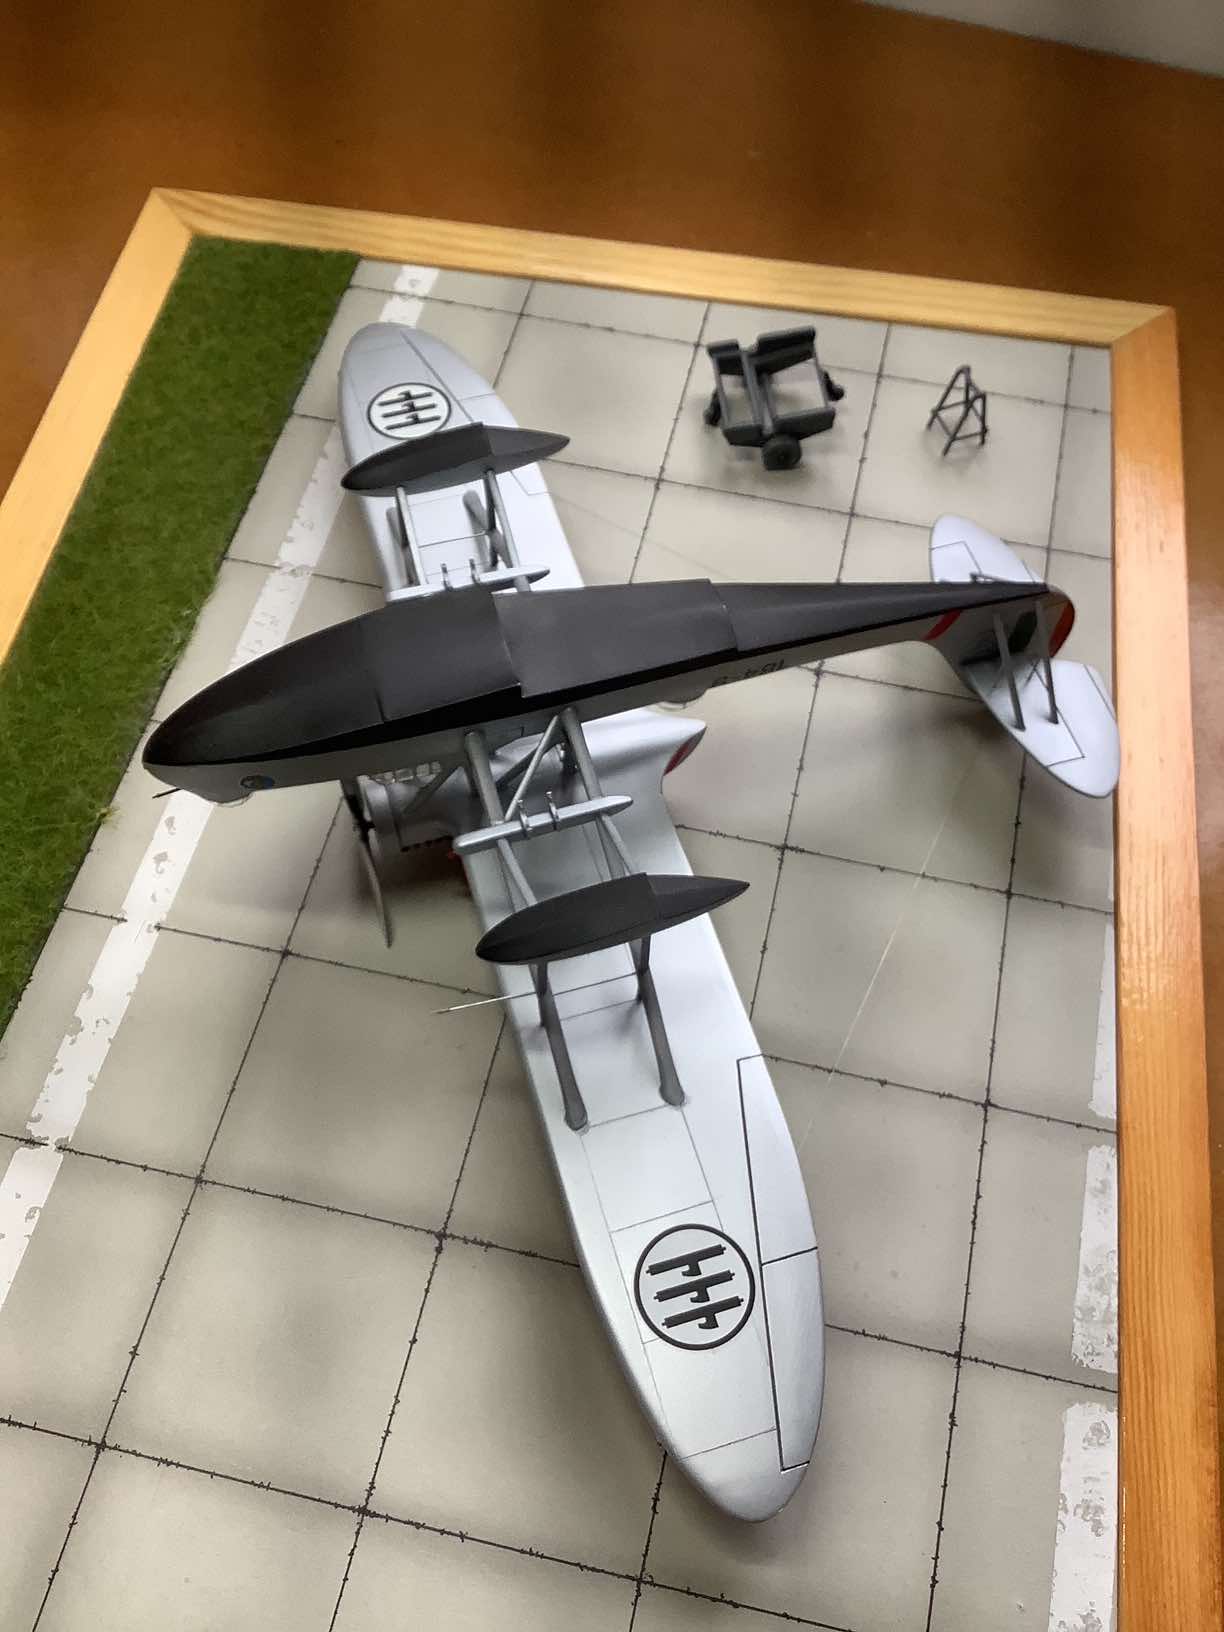
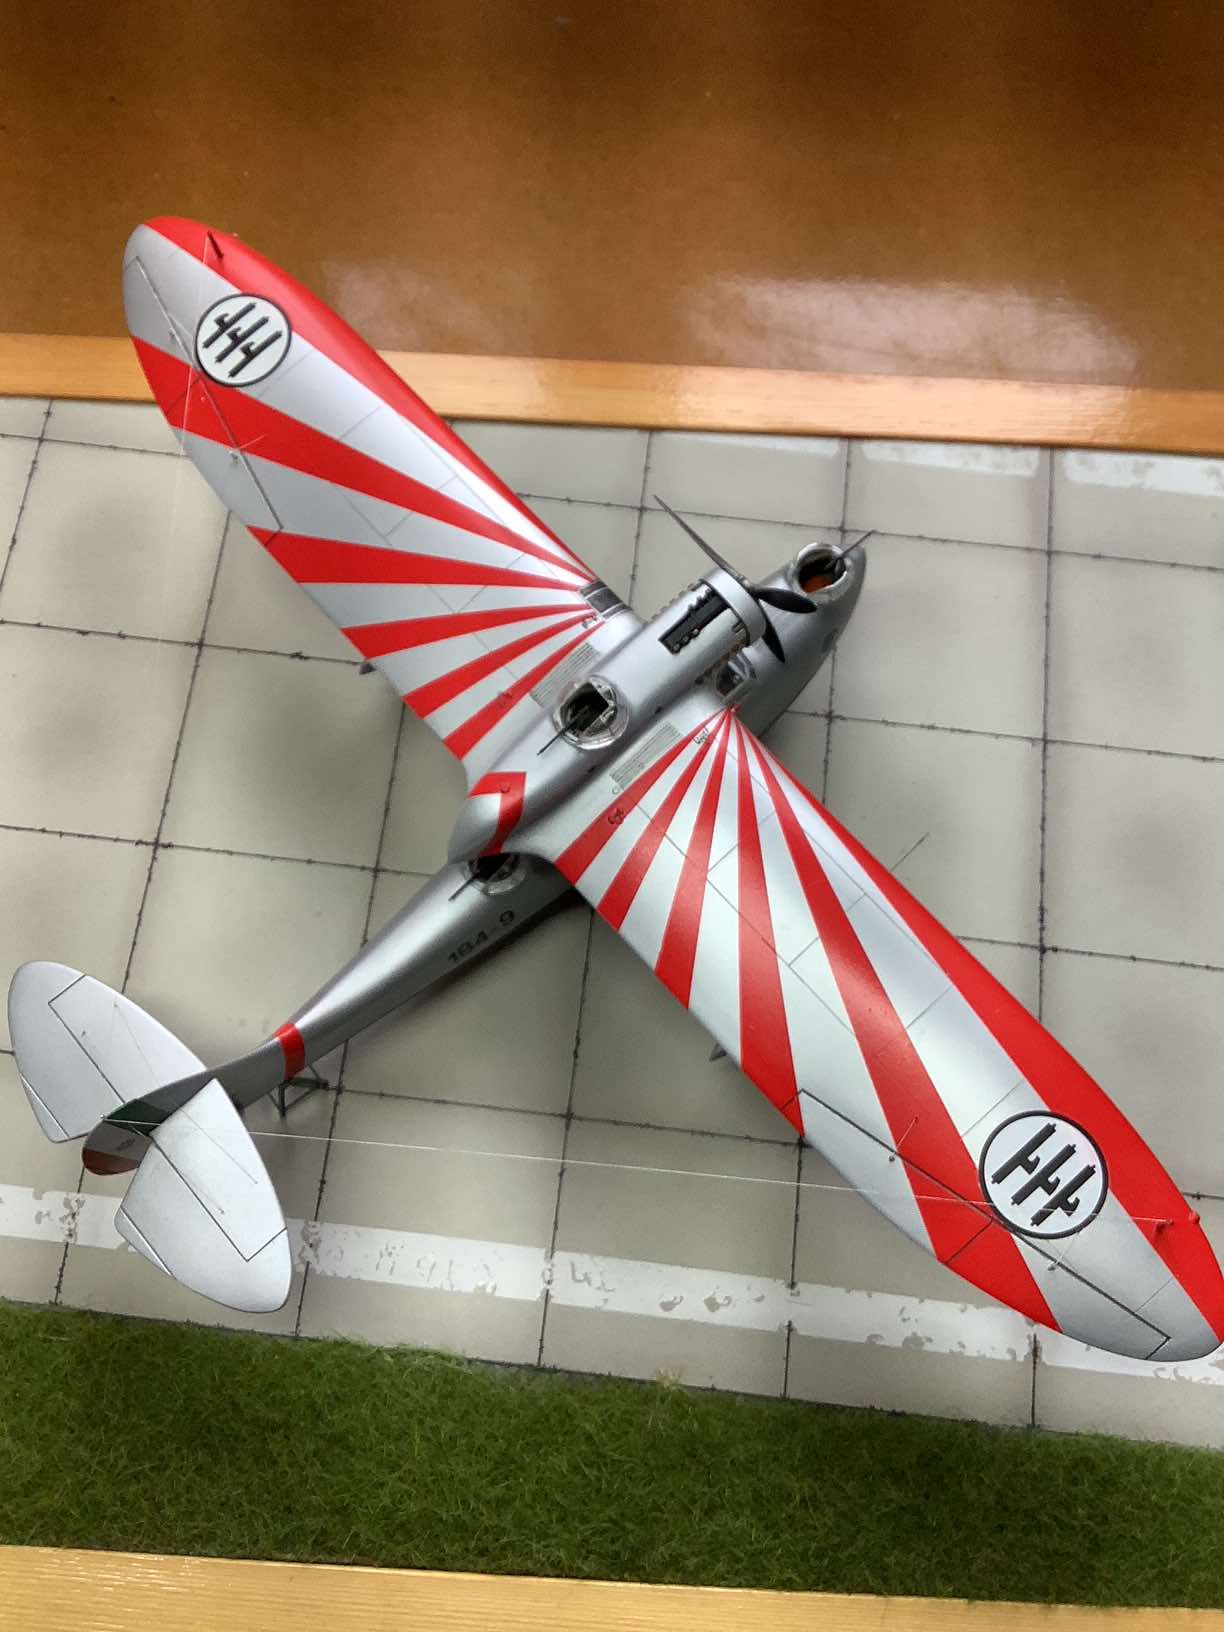
For my final contribution to the club’s ‘maritime’ themed display at Telford I wanted something eye-catching and chose another flying boat the ‘Gabbiano’ – seagull. An Italian reconnaissance flying boat, it debuted in 1934 and immediately broke a record for long range flights. However, by 1940 it was obsolete and suffered heavy losses in WW2.
The kit dated to 1972 and was a good kit at the time, but it is now a bit dated. Also, the assembly instructions were poor; two cowlings are supplied – for early and late production machines but with no indication as to which went with which colour scheme etc. I wanted to make an early machine with the red sunburst ‘Hi-Viz’ markings. After some research, this is what I did:
The Interior – The pilot/co-pilot’s seats got seatbelts and radio operator got a seat. The sidewalls were detailed as per photographs. The walkways were extended to the gunner’s positions, and the front gunner got a perch to sit on.
Fuselage – The fuselage was closed-up, and the canopy was glued I place. The canopy was a poor fit and had to be faired in with some Milliput. After sanding, the raised lines in front of the cockpit had to be reinstated. Finally, the tailplanes and their struts were fitted; as well as the struts supporting the wings and floats.
The wing – This was straightforward, the raised panel lines were scribed and control horns added to the ailerons.
The engine ‘podule’ – Hmm… Italeri had fudged this. The early Z.501 had a 750 hp Isotta Fraschini engine, which had three banks of cylinders and later aircraft had an 880 hp V-12 with two.
I used the narrow chord radiator, for the earlier engine and omitted the prop spinner. The broad chord radiator was used with the later engine.; for this engine, you should fill the six holes on top of the nacelle and assemble as per the instructions.
However, I was modelling the earlier engine and so I had to cut a slot in the top of the nacelle and install a representation of the third cylinder block and its exhausts.
Painting – I masked the canopy and filled the gun positions with damp tissue. I then primed the model with Tamiya Fine Surface primer. The undersides of the floats and fuselage were sprayed black. After masking them I sprayed the model with MRP White Aluminium.
Decals – The red ‘sunburst’ markings were done first. I placed one wing half on a piece of thin card and drew around it and cut it out. Next, using photos as a guide, I drew the sunburst pattern on the piece of card. After marking the segments I wanted to keep with an ‘R’, I cut them out, placed them on a sheet of red decal film and cut around them. For the other wing I turned over the pieces of card and repeated the procedure. I applied the red segments from thr centre section outwards, taking care to ensure that the pattern was identical on both wings. The same red decal film provided the other red of the stripes I needed, including for the red/white/green tail stripes. The kit’s decal sheet provided the rest.
A coat of satin varnish sealed everything.
Final assembly – I attached the wing and floats without damaging the paint finish; that was easy and involved now swearing whatsoever ☺. The turrets and small details were glued in place and the beaching trolly & trestle for the tail were painted to represent careworn timber. Rigging was a mix of nylon thread and fine copper wire.
The kit is currently widely available and with a little work, it can be made into an eye-catching addition to any collection.