
We meet on the second Wednesday of every month at The Den, Cunningham Road, Westhoughton, BL5 2AN. 7:30pm until 10:00 pm.
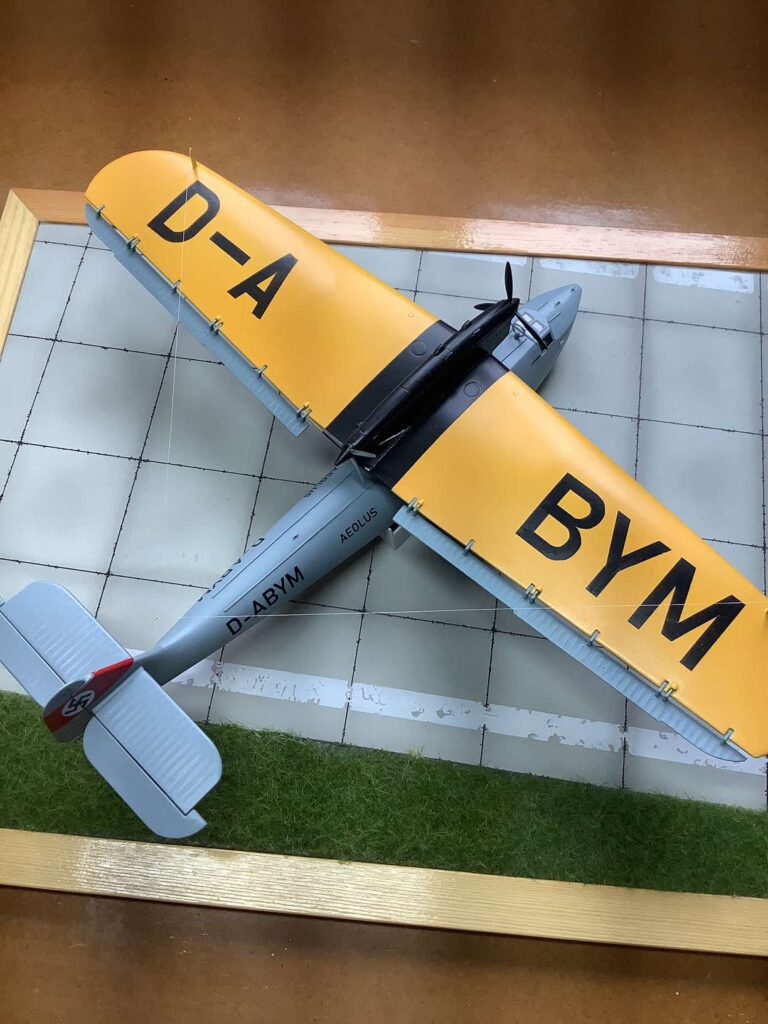
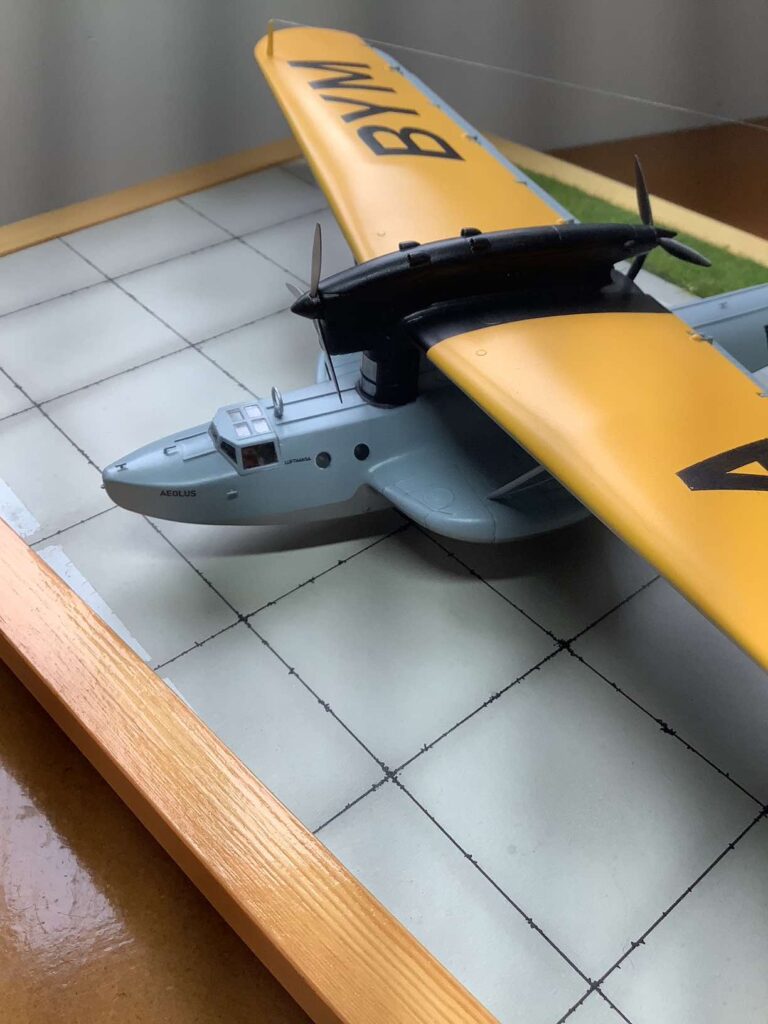
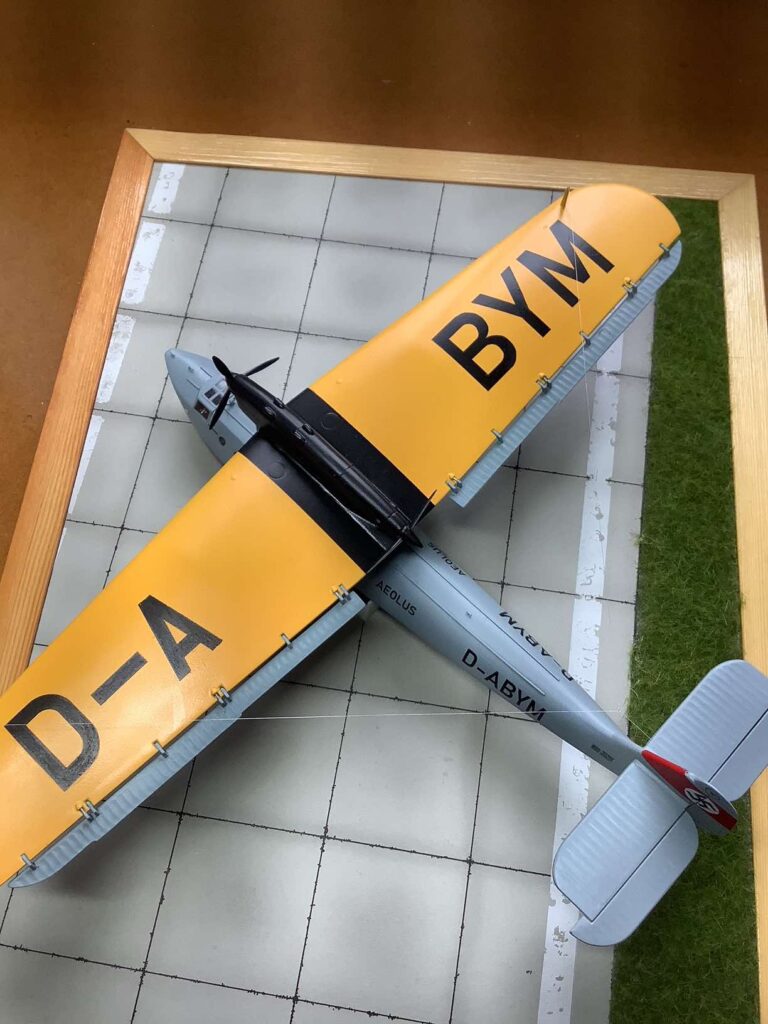

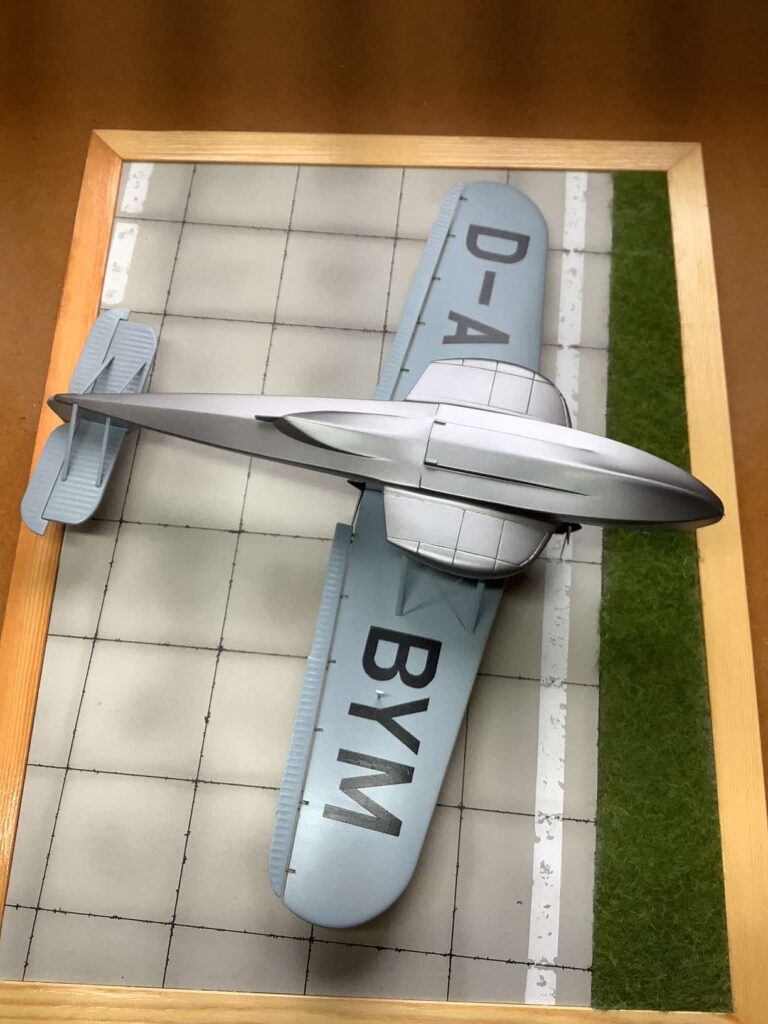


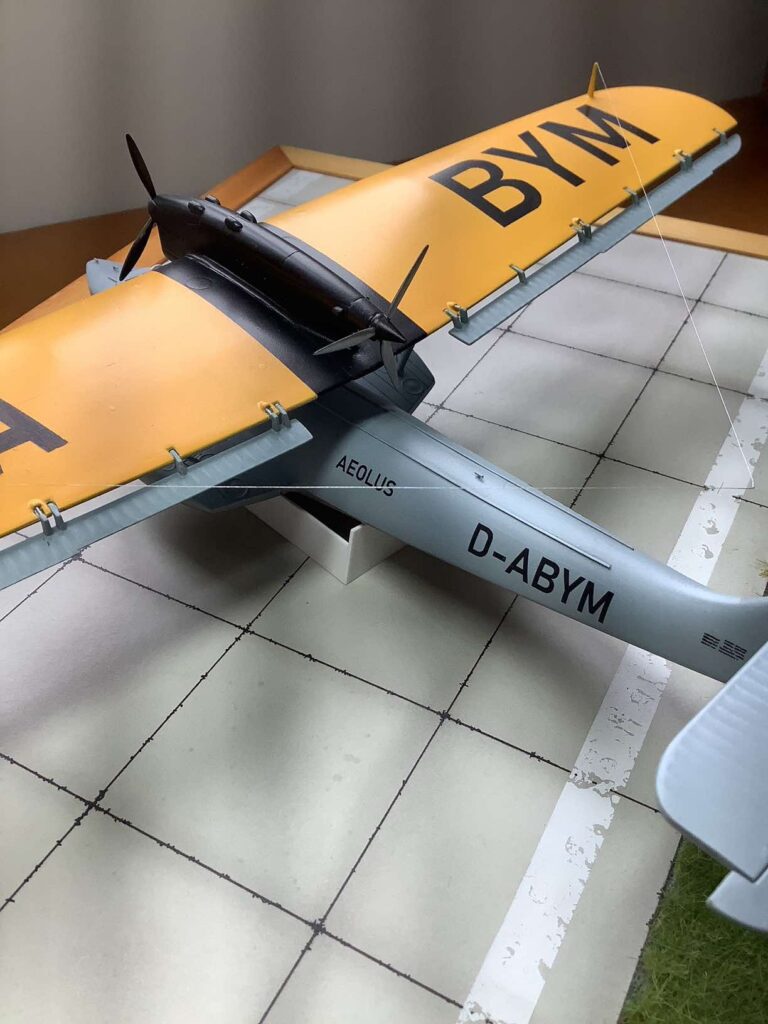
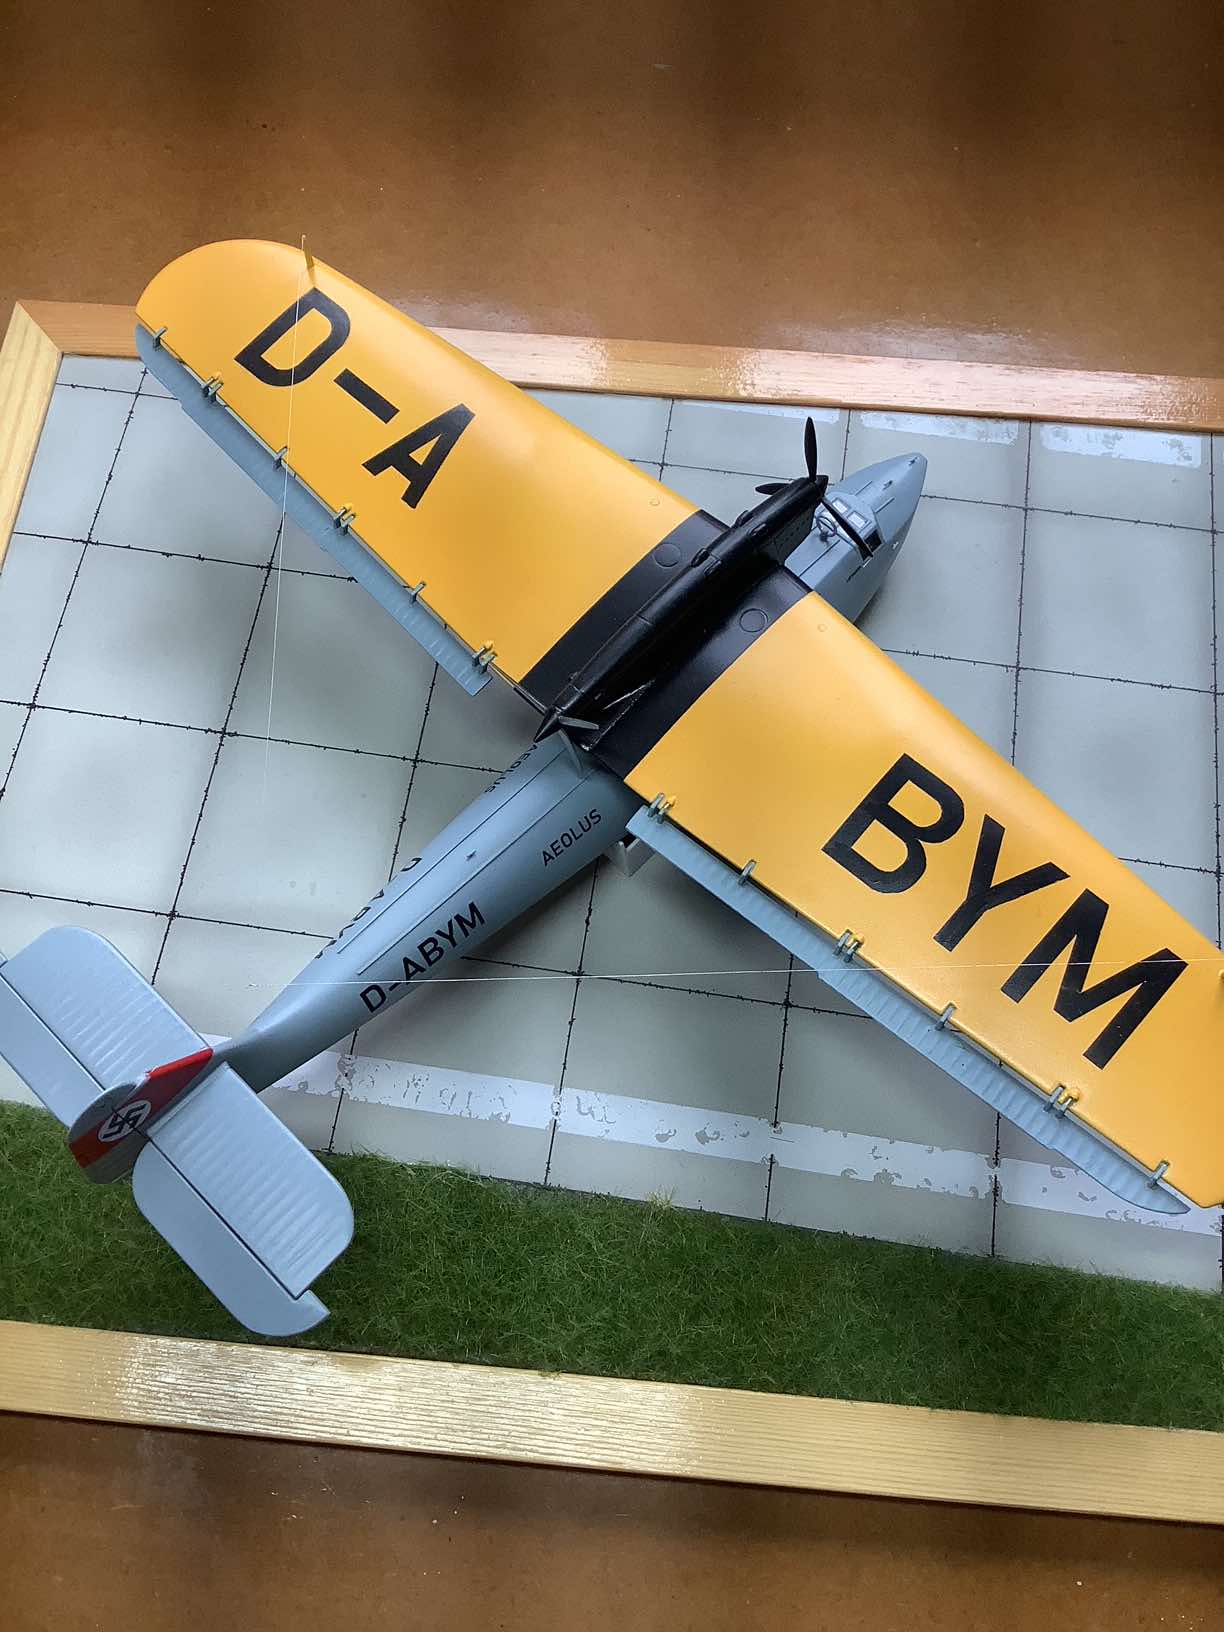
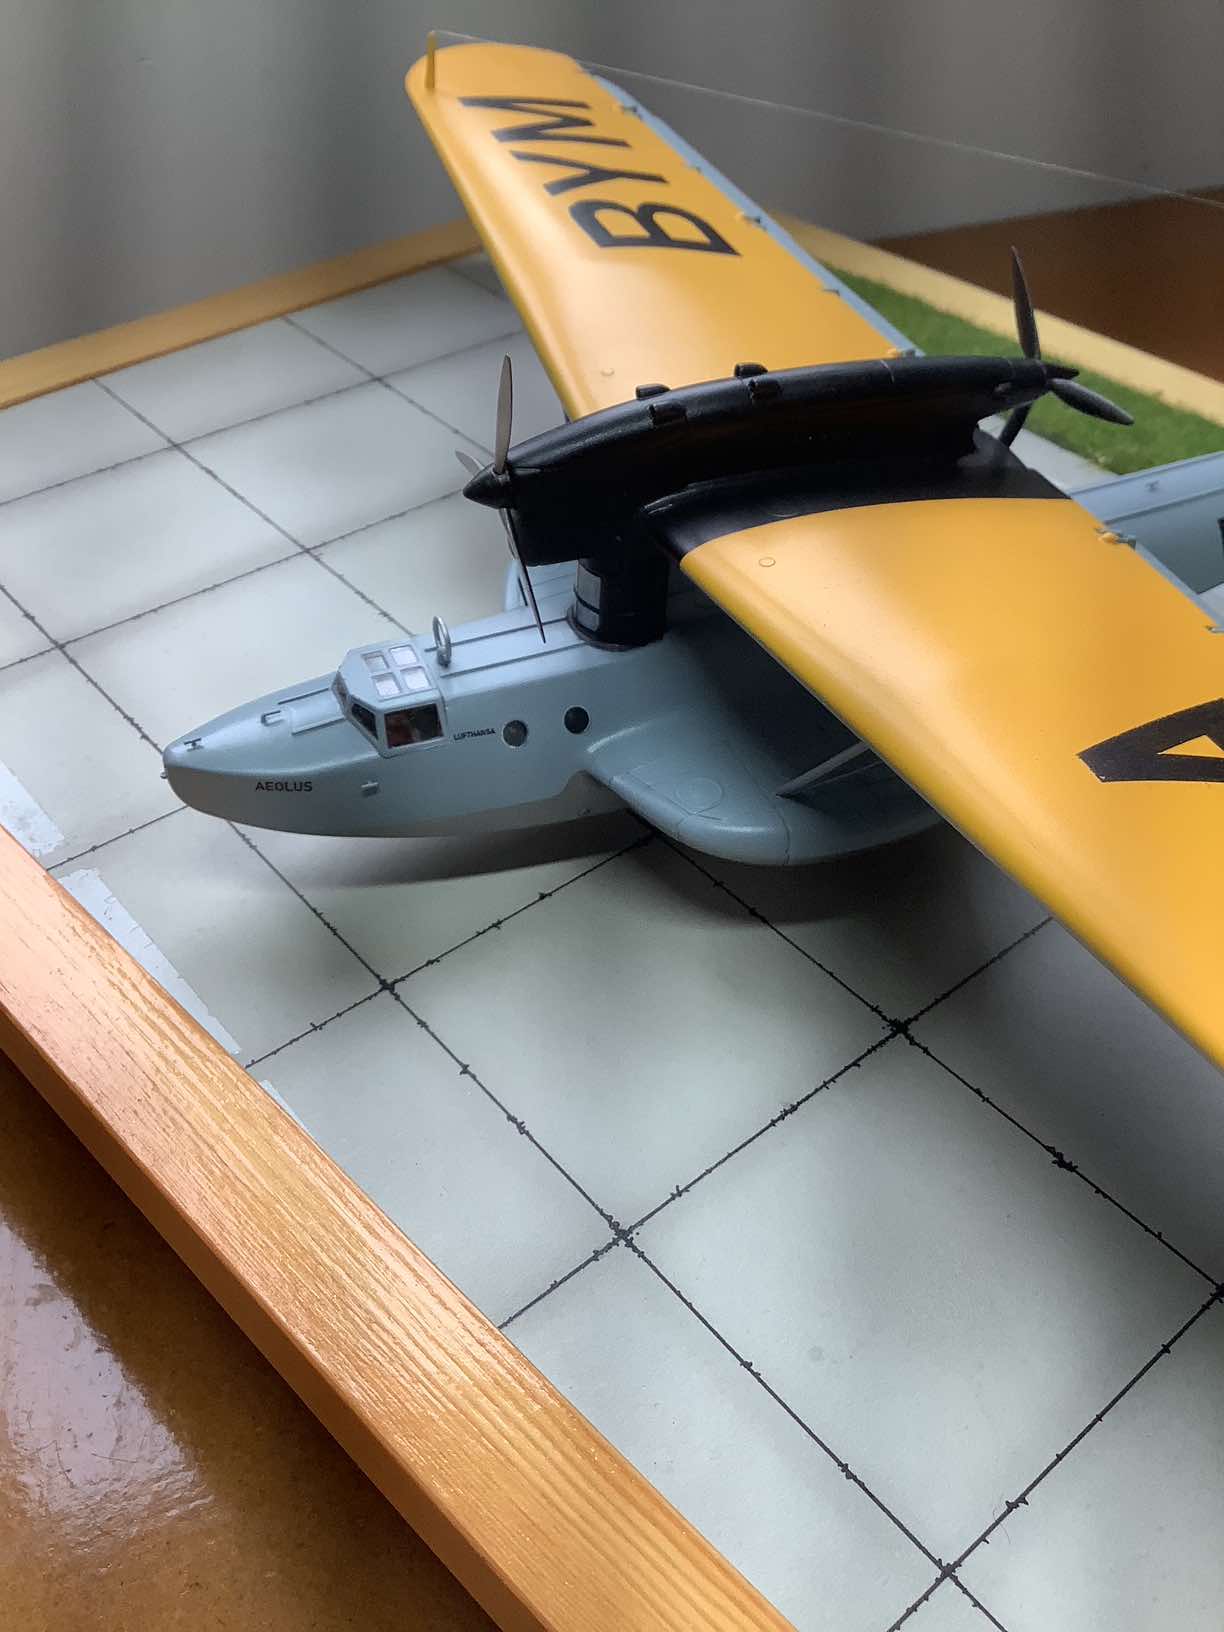

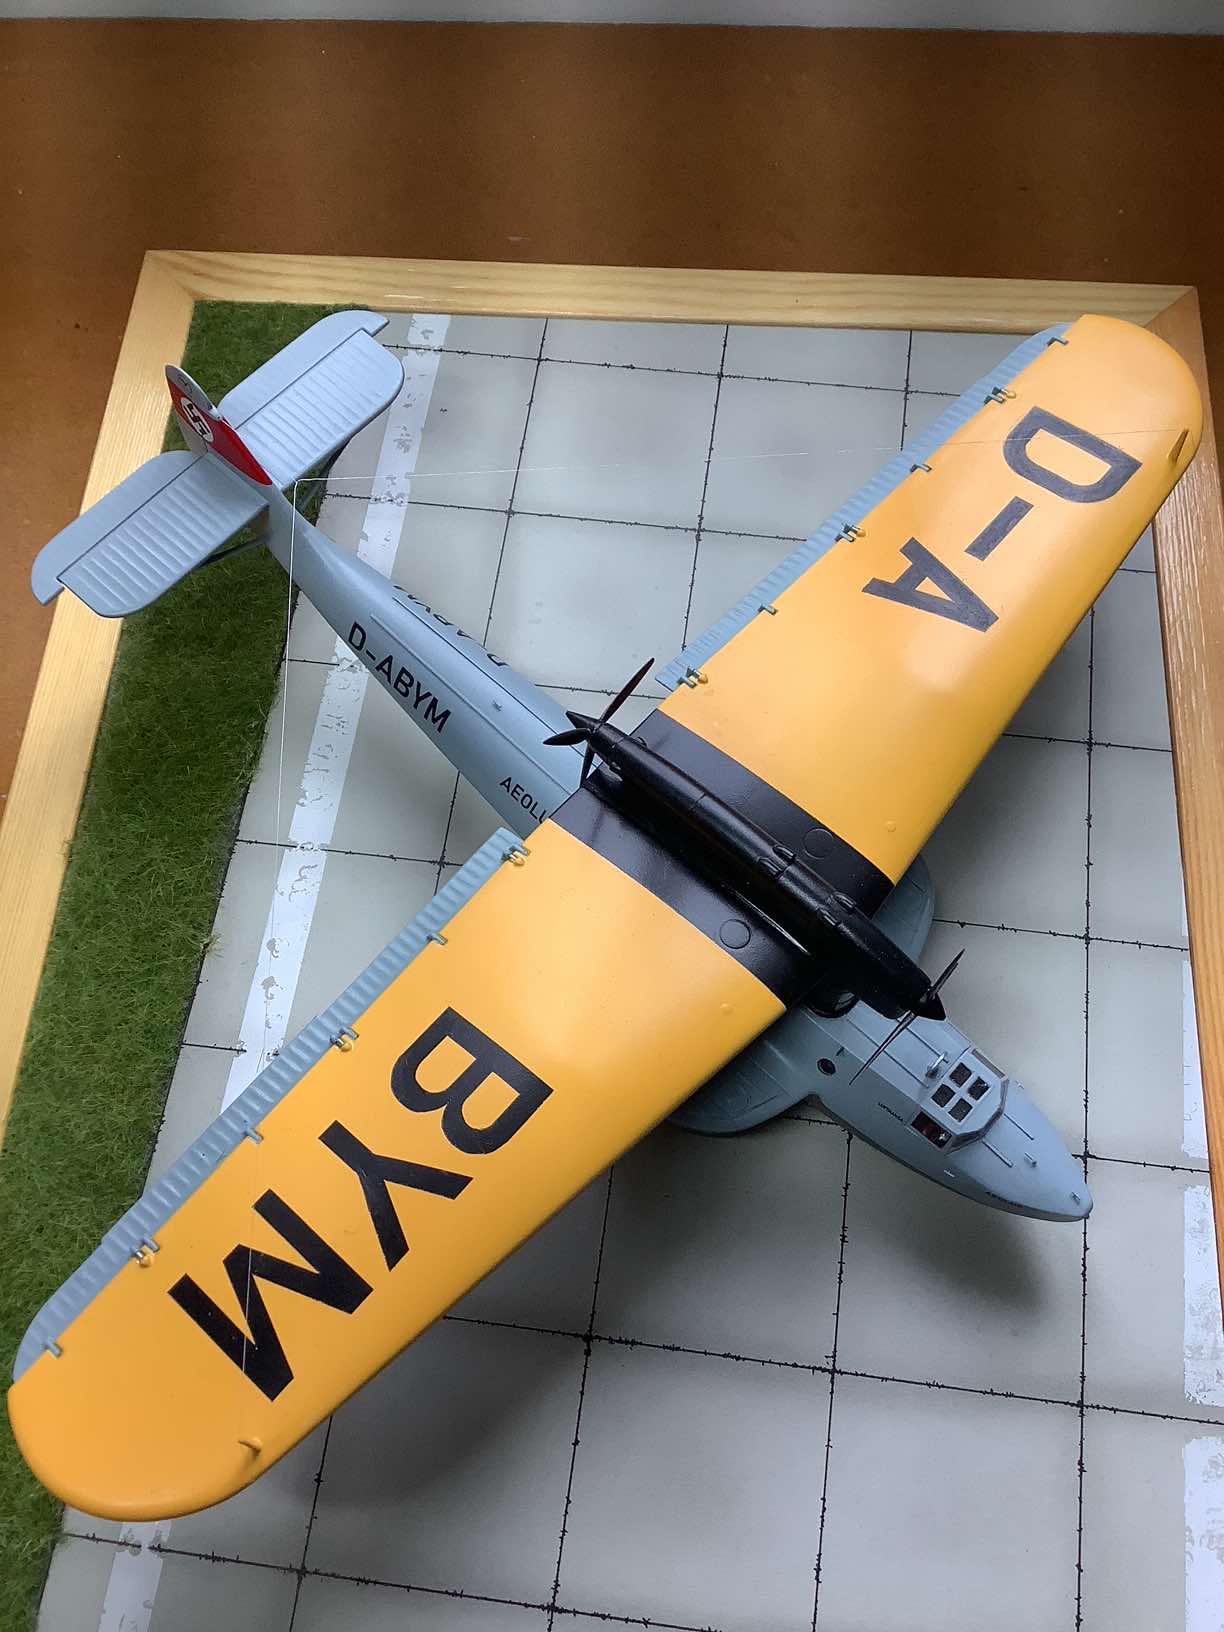

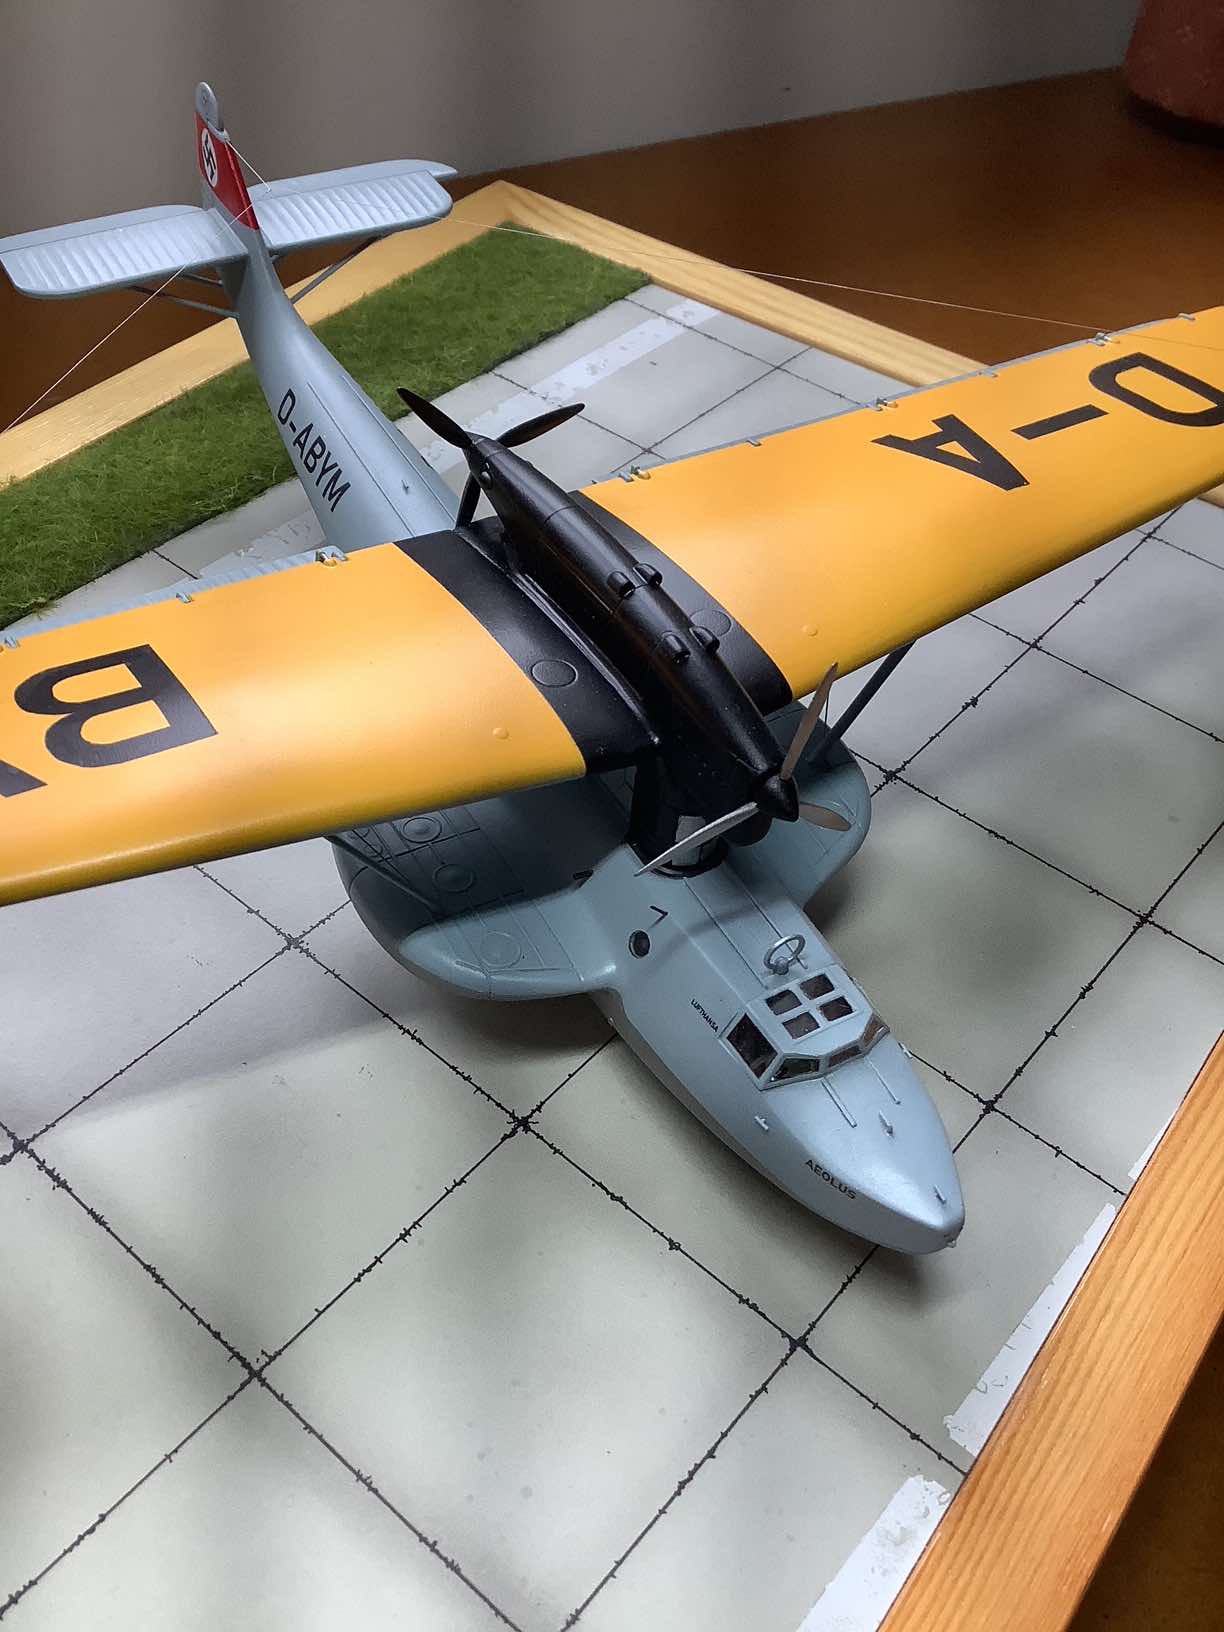


This was the second in a trio of models I made for the club display at Telford in 2025. The Do.18 was developed in 1934 for the German Ministry of Aviation (RLM). The bulk of production went to the Luftwaffe, but five early examples went to Luft Hansa; they were used to pioneer mail plane routes across the Atlantic from the Azores to New York.
The five planes were named but they differed in detail; having studied photos, I chose to model D-ABYM (Aeolus). Please note that, although Matchbox supplied the markings for D-AANE (Zyklon), this aircraft had a larger wing and can’t be built from the kit as supplied.
The kit dated from 1979. The conversion required no major work, and it really repaid the effort with a very striking finished model. The work required included:
Fuselage – The rear portside window was blanked off and filled. A replacement window was positioned behind the cockpit. Once the fuselage was closed and the gun positions blanked off, some filling and sanding helped to capture the sleek look of the original aircraft. After that, reinforcing strips were cut from 15x 20 thou Evergreen strip and glued in place. A new, single, water rudder was added, along with other small details, before I glued the sponsons, rudder and tail planes in place.
The wing – The Matchbox ‘trenches’ had to be filled. The intakes under the wings were replaced with ones made from 1/16th plastic rod. The flaps/ailerons were painted but only glued in place after all the other painting was completed.
The engine ‘podule’ – This needed detail added and the kit detail replacing. Ports had to be drilled and intakes added. The ‘wing to podule’ fit is poor and I aligned the upper surfaces of the wing to the podule leaving the flaws under the wing where they can’t be seen.
Final assembly – The strut to sponson fit was poor, occasioning an outburst of swearing but we ended as friends…
Painting and finishing – I masked the canopy before priming and sanding any blemishes. The underside of the fuselage was sprayed with Mr Color ‘Super iron’; this was then masked and the upper wing was sprayed with Tamiya ‘Chrome yellow’ from a rattle can. Next, after masking the yellow, I sprayed the fuselage and sponsons with Mr Color c308 Gray. This is the colour I use for L40/52; a colour was commonly used on Luft Hansa/Lufthansa aircraft in the mid-1930s. However, interpreting colours from B&W pictures is notoriously difficult and I’ll happily stand correction on this. Finally, after masking, the centre section was painted black.
Decals – The red tail band was masked and sprayed SBS Italian Red. Using a compass cutter, I cut two discs of white decal film. I cut them in half and stuck them in place on the fin and rudder. The swastika was cut from black decal film. The kit decal sheet supplied the Luft Hansa insignia and the data table for the fuselage. The rest of the decals were printed onto clear decal film using a laser printer. The font ‘Bahnschrift SemiBold’ is close to that used by Luft Hansa, so, I typed the codes etc. into a Word document, printed it off and when I had the sizes correct, I printed them onto the clear decal film. I was really pleased with the results.
Finally, a coat of satin varnish sealed the decals.
Last of all – New spinners were turned from plastic rod and propellor blades came from the spares box. A DF loop was made, and the rigging was from fine nylon thread and 0.3mm brass wire.
This was a fairly quick build, but I spent plenty of time online looking at photos of the original aircraft; even so, as I wrote this piece, I found another picture and now realise that the two round ‘sticky up bits’ just behind the leading edges of the wings are actually exhausts…